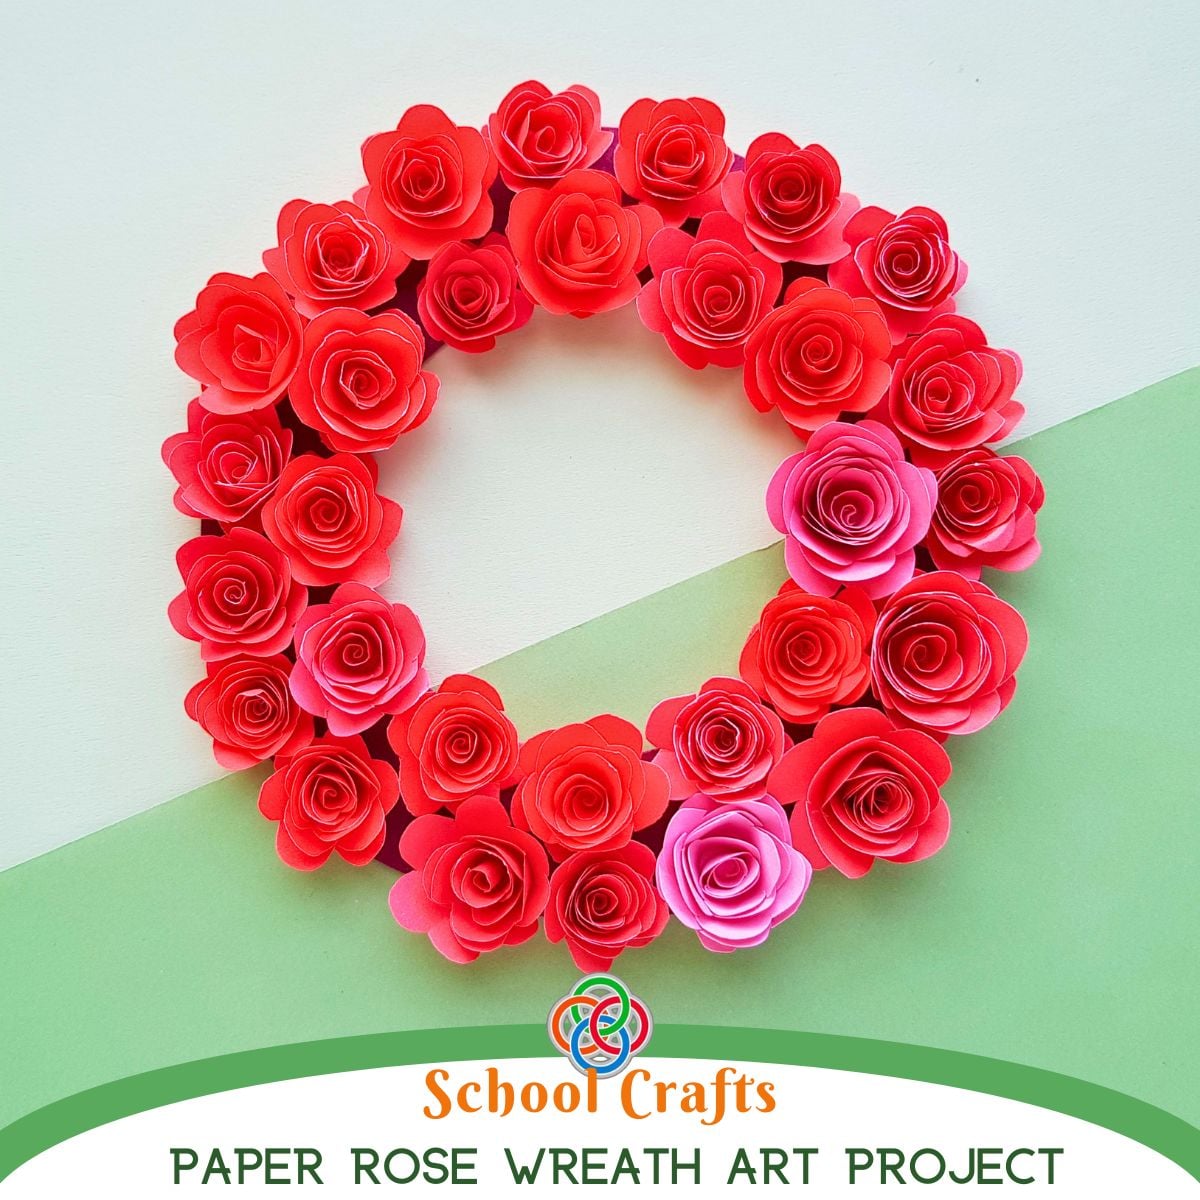
Homemade Paper Rose Wreath Craft
This printable craft instruction sheet provides simple, step-by-step guidance for creating a beautiful paper rose wreath. With easy-to-follow directions and helpful visuals, it’s perfect for kids, classrooms, or anyone looking for a fun and creative DIY project. Just print, gather your supplies, and enjoy making your own stunning floral decoration!
Equipment
- 1 Scissors
- 1 bottle of glue or glue stick
- 1 compass or use big and small plates for drawing circles
- 1 Pencil. for tracing
Materials
- 6 pages colored craft papers red or pink
- 1 sheet card stock
- 1 hanging hook or twine to hang if desired
Instructions
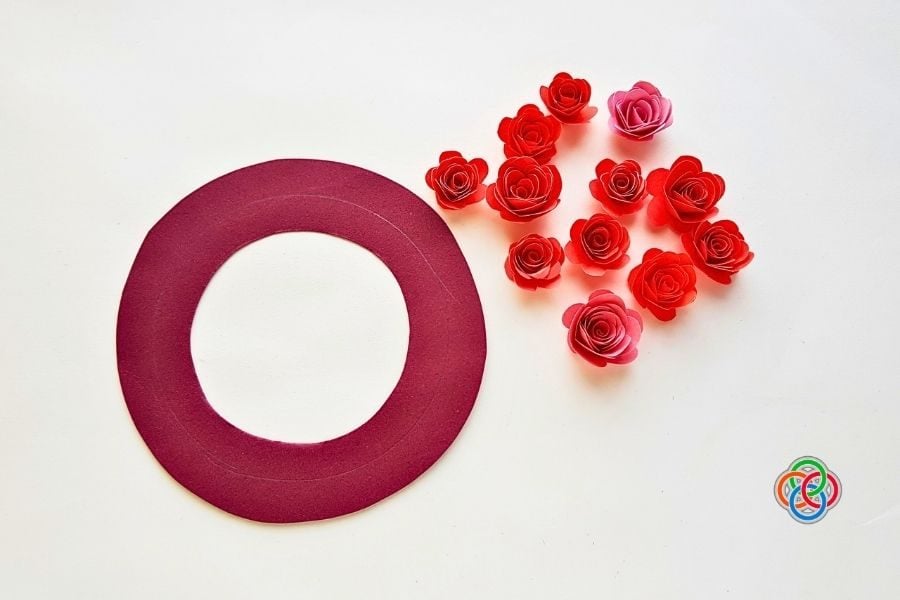
- To make the wreath base, draw a large circle on cardstock using a compass or by tracing around a large plate. Then draw a smaller circle inside using a smaller plate or compass, and carefully cut out the ring shape to create your wreath base.

- Choose your favorite colored craft papers for the wreath. Trace the spiral templates onto the paper and carefully cut them out. You’ll need one spiral for each flower, so be sure to cut enough to fully cover your wreath base.
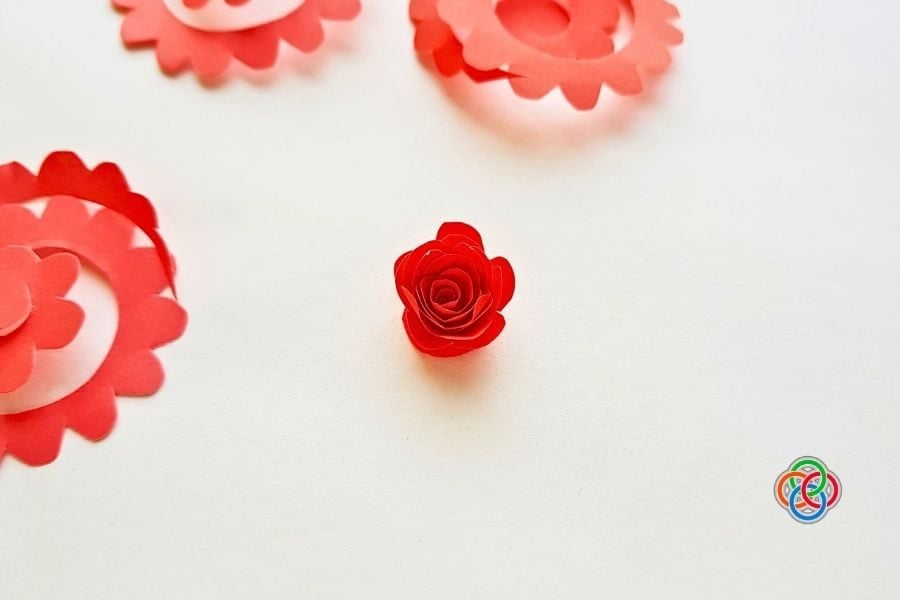
- Take any one of the spiral patterns and start to coil it from its outer side.

- Continue to coil the spiral towards the center of the pattern.

- Roll the spiral tightly all the way to the center, then gently let it loosen slightly. Add a small amount of glue to the center to hold the shape in place.

- Press the rolled spiral onto the glued center to hold it securely in place.

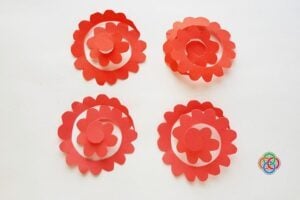
- Repeat the process to turn the remaining spirals into flowers.

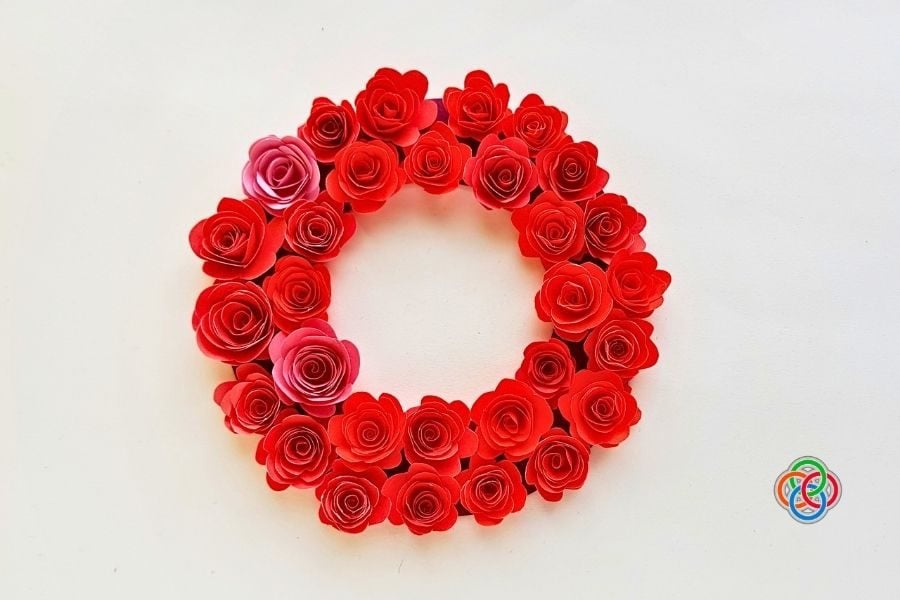
- Take the paper flowers and glue them on the wreath base.

- Arrange the flowers carefully as you glue them on, filling the base evenly. Place them close together so there are no gaps between the flowers.

- Let the glue dry completely before attaching a hanger to the back of the wreath.