Irish Cakes
Here's a collection of recipes featuring favorite cakes from Ireland. Some are traditional Irish cake recipes and some are inspired by the flavors and ingredients of Ireland.
-
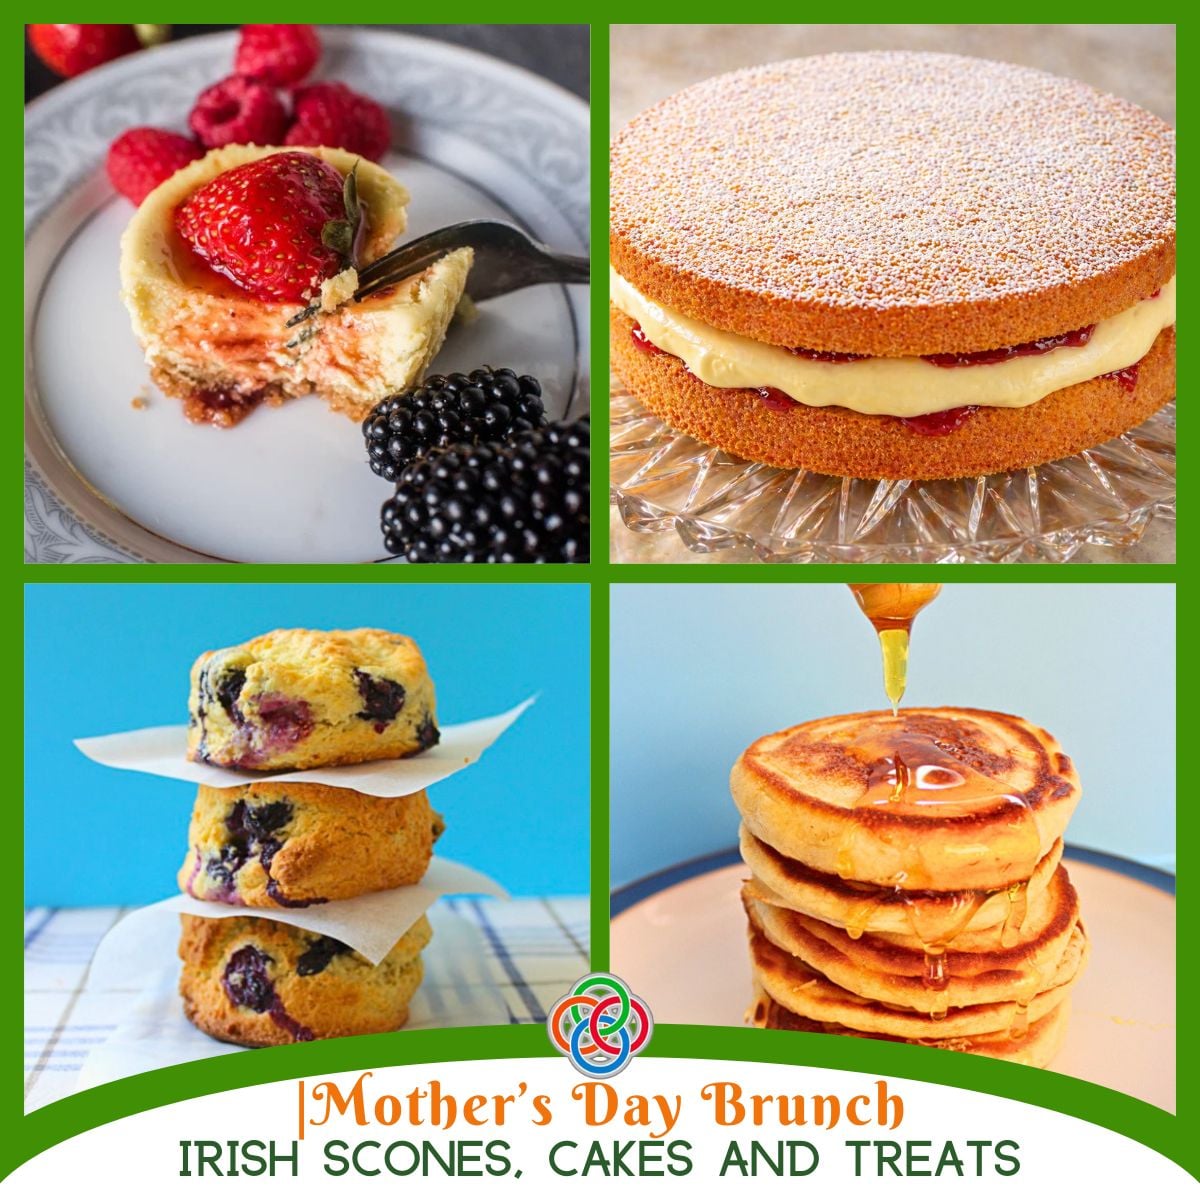
Treat Mom to a Proper Irish Brunch: Scones, Tea Cakes and Breads She'll Adore
-
How to Make the Ultimate Chocolate Whiskey Mousse Pie
-
Fun Saint Patrick's Day Cakes
-
Saint Patrick's Day Cupcakes
-
How to Make Guinness Chocolate Cake - A Trusted Recipe
-
Irish Cherry Tea Cake Recipe
-
No-Bake Banoffee Pie - A Banana and Caramel British Treat
-
Victoria Sponge Sandwich
-
Chocolate Biscuit Cake
-
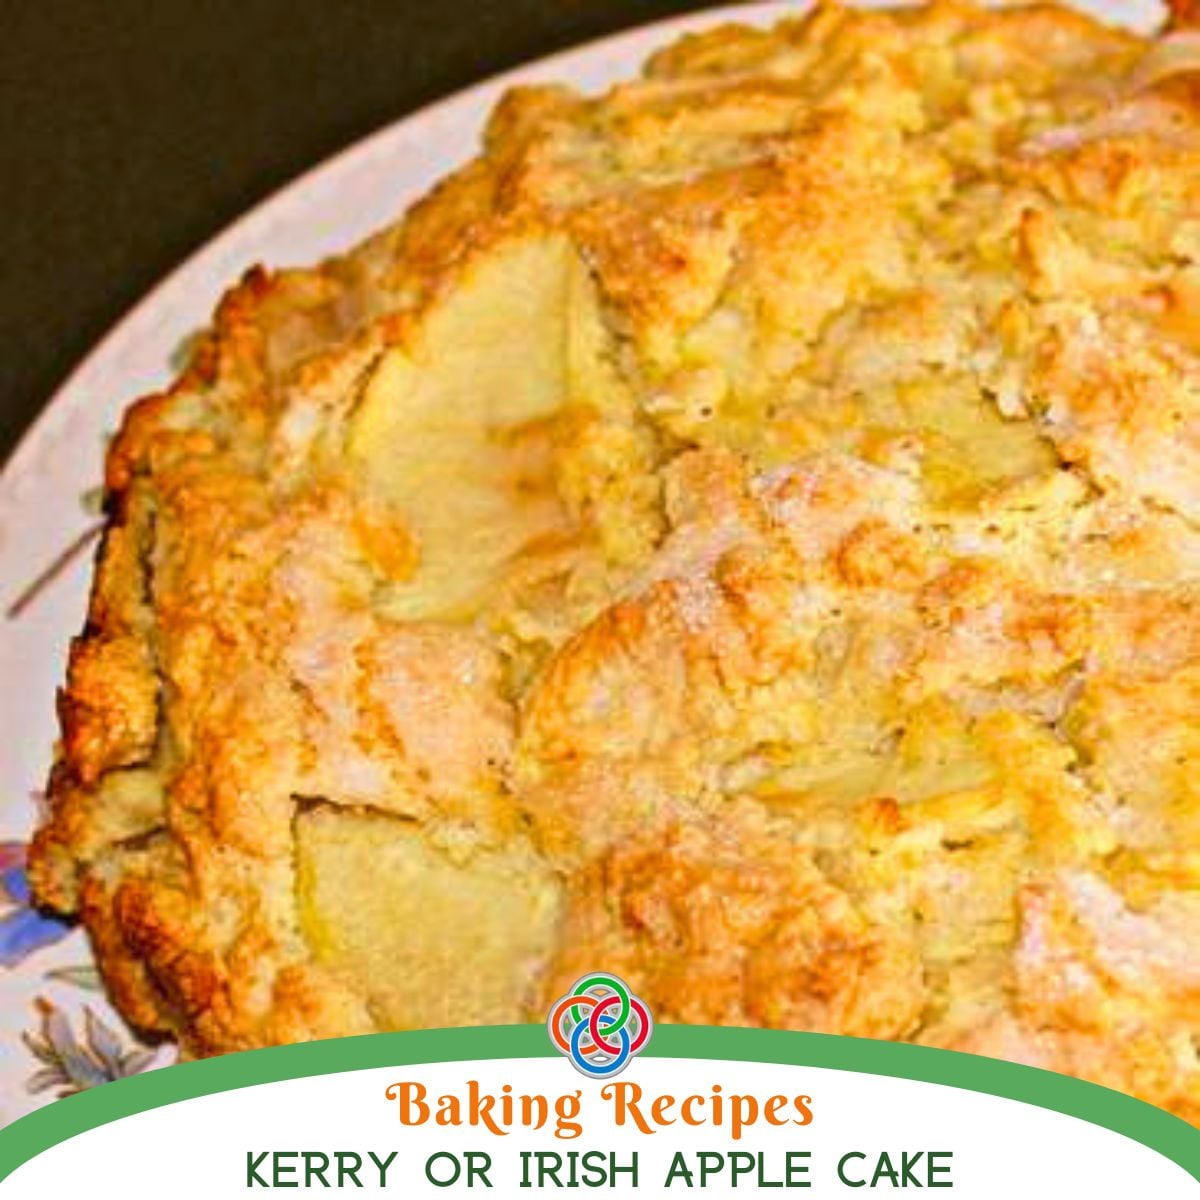
Kerry Or Irish Apple Cake
-
Irish Fruit & Cream Flan
-
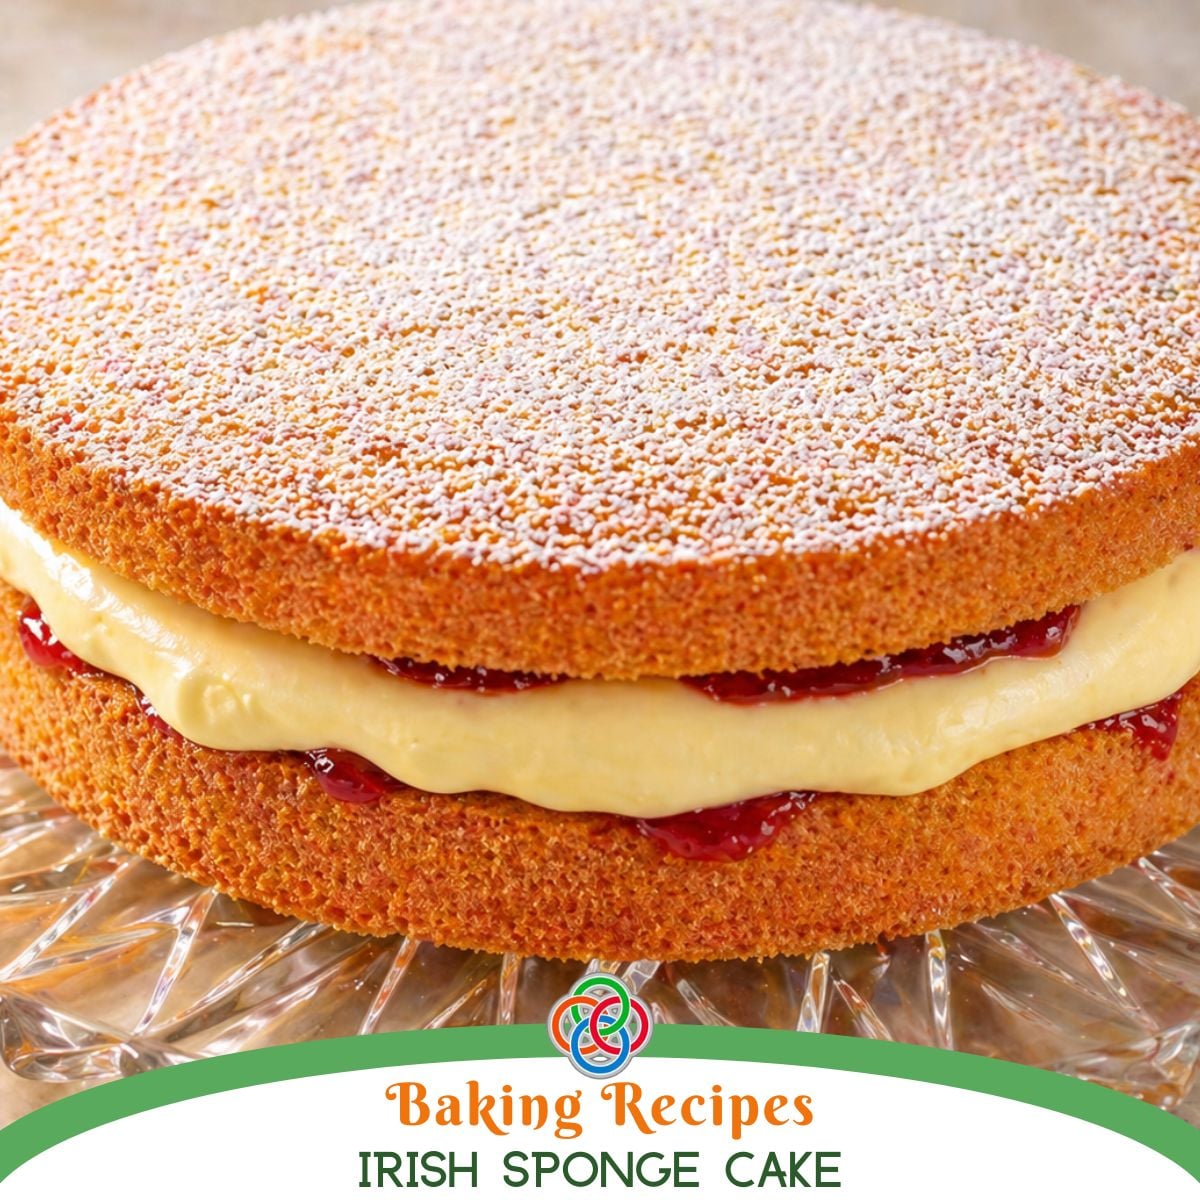
Irish Sponge Cake