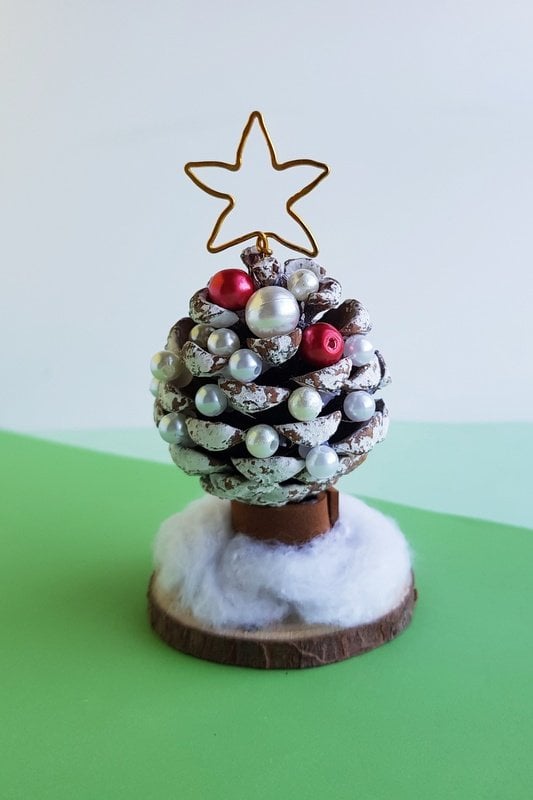
A pine cone Christmas tree can be made from a pine cone with slightly opened spines, in this easy, peasy, fun and festive craft.
Here's another DIY Christmas ornament from my Irish childhood.
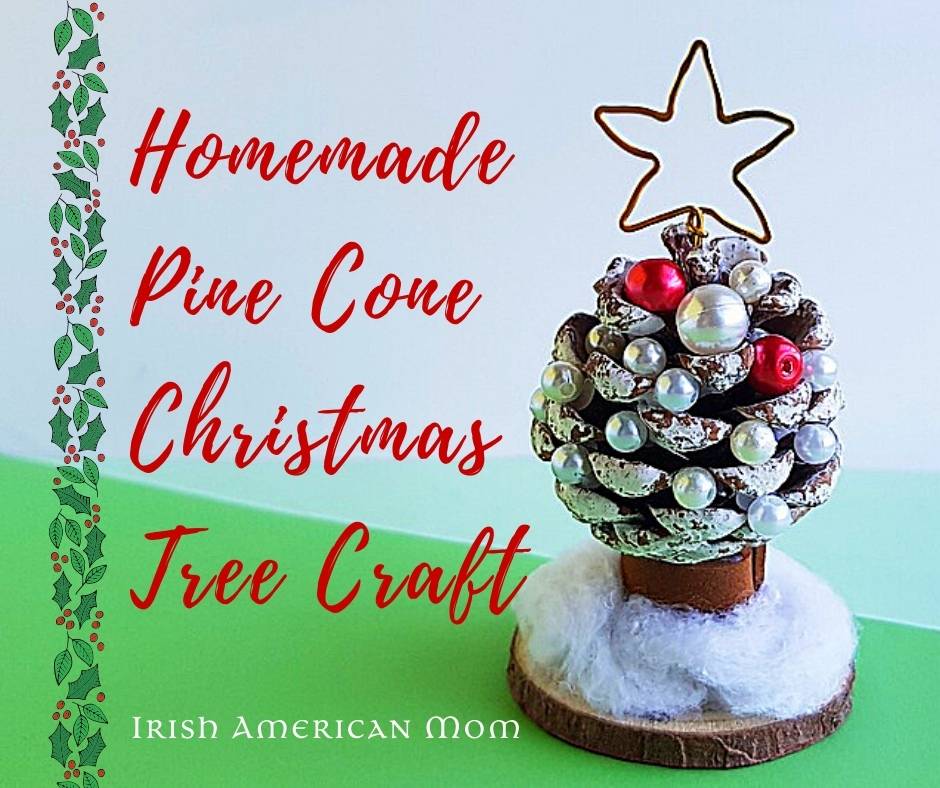
Table of Contents
Collecting Pine Cones in Ireland
When I was young I lived close to Saint Anne's Park in Dublin. Full of trees and open spaces this was our foraging ground for pine cones at Christmas time.
School time festive crafts required students to bring in a pine cone to decorate during art class. We searched for weeks before Advent. We'd collect them when their spines were closed and bring them indoors so they could warm up and dry. That's when their spines would open up to release seeds.
We washed our pine cone treasures and dried them beside the open fire. Then we got creative, embellishing them to create our very own festive ornaments.
And so once again, I'm taking a trip down memory lane, to share a vintage craft from my Irish childhood.
Supplies Required For A DIY Pine Cone Christmas Tree
The pine cone is the most important piece for this creation.
Make sure the pine cone is slightly opened. If you're using a seed bearing pine cone, then it needs to be warm and dry to open up its spines.
After bringing them home from the great outdoors, give them a quick rinse to remove any dirt and seeds. Let the pine cone dry completely before decorating.
You can choose to paint the pine cone any color you choose, or simply leave it plain. My favorite finish is to dab the ends with white paint to give a snow effect.
Don't forget to clean the paint brush and dry it after using (I'm turning into my mother as I type).

Here's what you'll need to make this cute Christmas craft:
- Pine cone
- White craft paint
- Round wood slice
- Faux pearl beads (or any kind of beads of your choice)
- Hot glue gun
- Craft foam sheet (brown color)
- Star charm (this can be made with gold craft wire)
- Scissors
- Cotton ball (or cotton wool as we say in Ireland).
Instructions for Creating a Pine Cone Christmas Tree
Here you'll find step-by-step photographic instructions. You'll also find a printable instruction sheet at the end of this post, if you'd like to share this craft with others.
Step 1 - Form the tree trunk
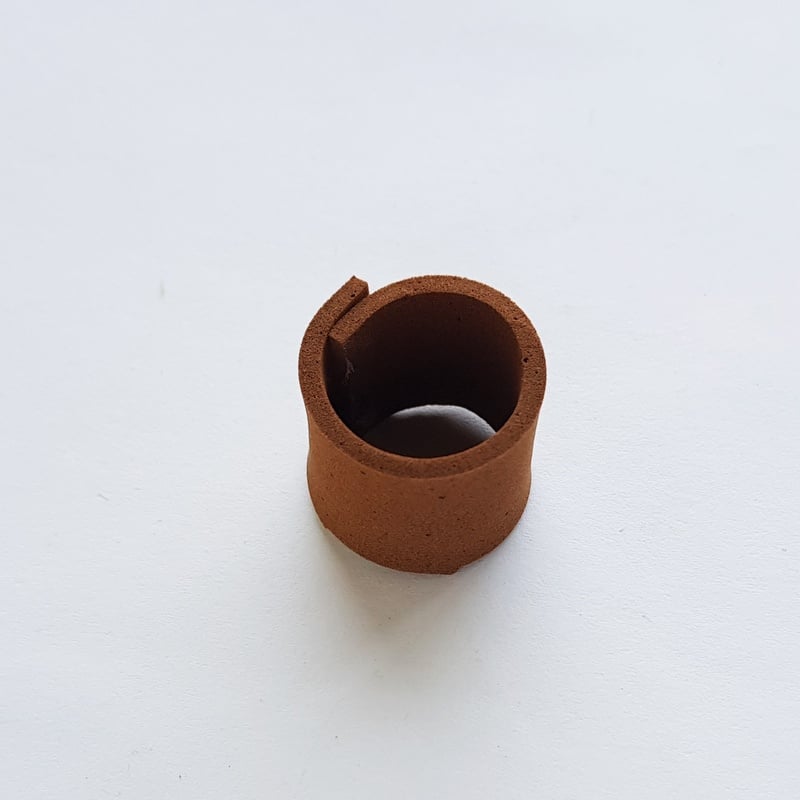
First we need to make a small tree trunk.
Cut out a small rectangular piece of brown colored craft foam sheet. and roll it into a tube-like pattern.
Apply hot glue at the overlapping seam to secure the foam roll.
Creating a tree trunk for our pine cone Christmas tree is as simple as that.
Step 2 - Attach the pine cone to the foam trunk
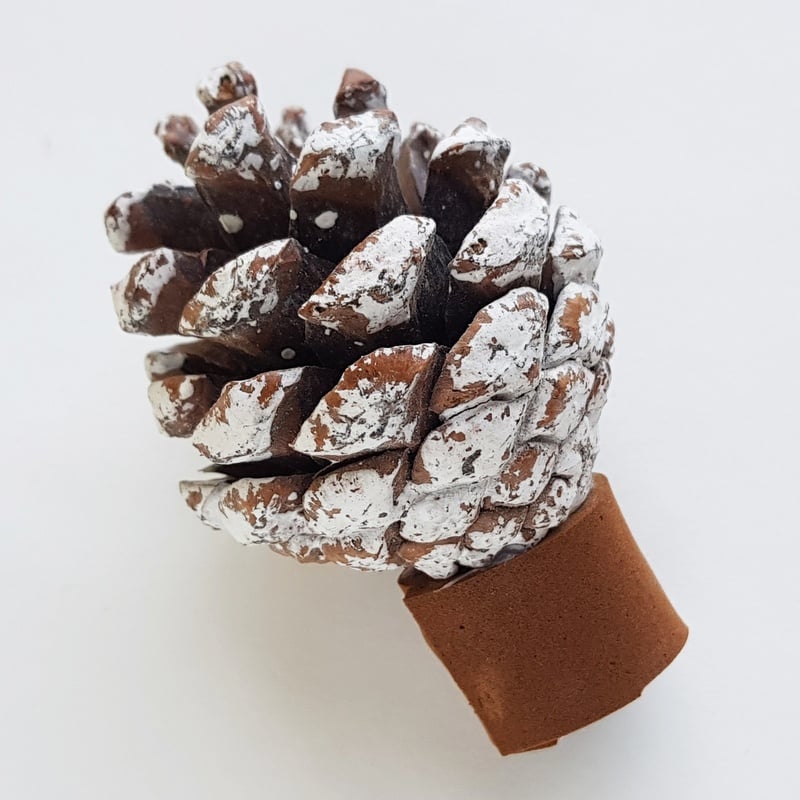
Stick the pine cone into one open side of the rolled foam trunk.
Apply glue around the top edge of the foam roll to secure the pine cone in place.
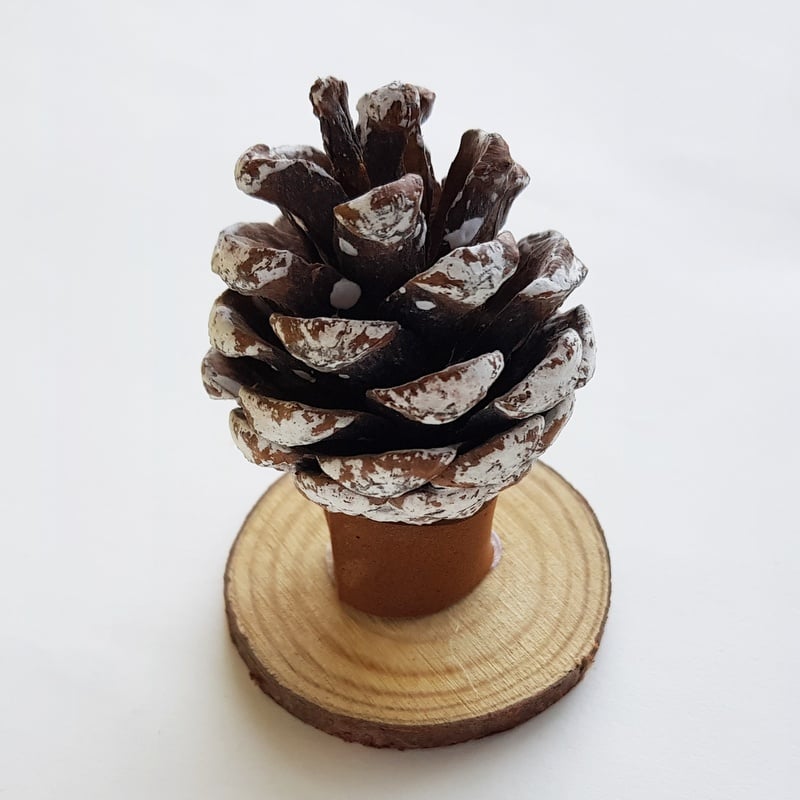
Step 3 - Support the tree on a pine circle
Next, we'll create a stand for our little tree.
Glue the other open end of the foam roll to a small wood slice.
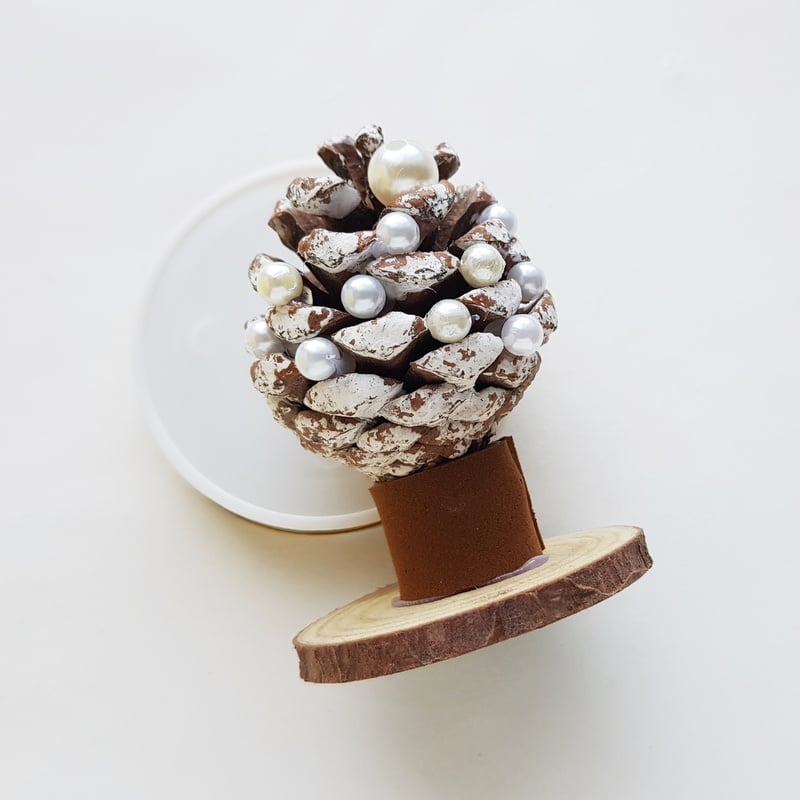
Step 4 - Decorate the Christmas tree
Now it's time to decorate your tree.
Stick beads to the pine cone.
Simply apply a drop of glue wherever you want to add the beads and then place the bead on the glue.
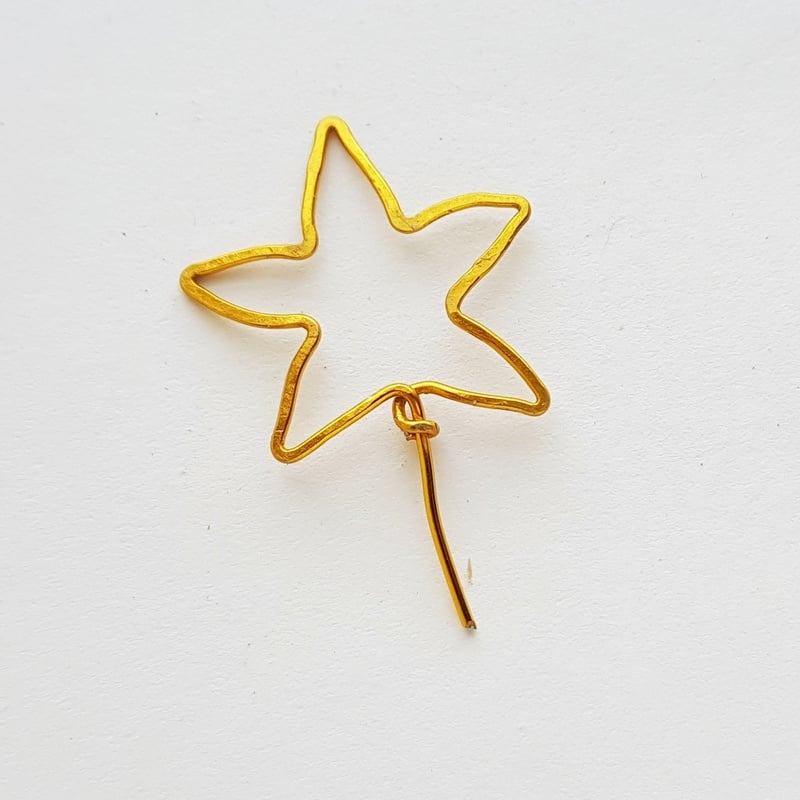
Step 5 - Form a wire star
A wire star charm is a lovely way to decorate the top side of the pine cone tree. You can fashion this with golden craft wire.
If you can't find this wire star, then you can alternatively cut out a star shape from golden colored paper.
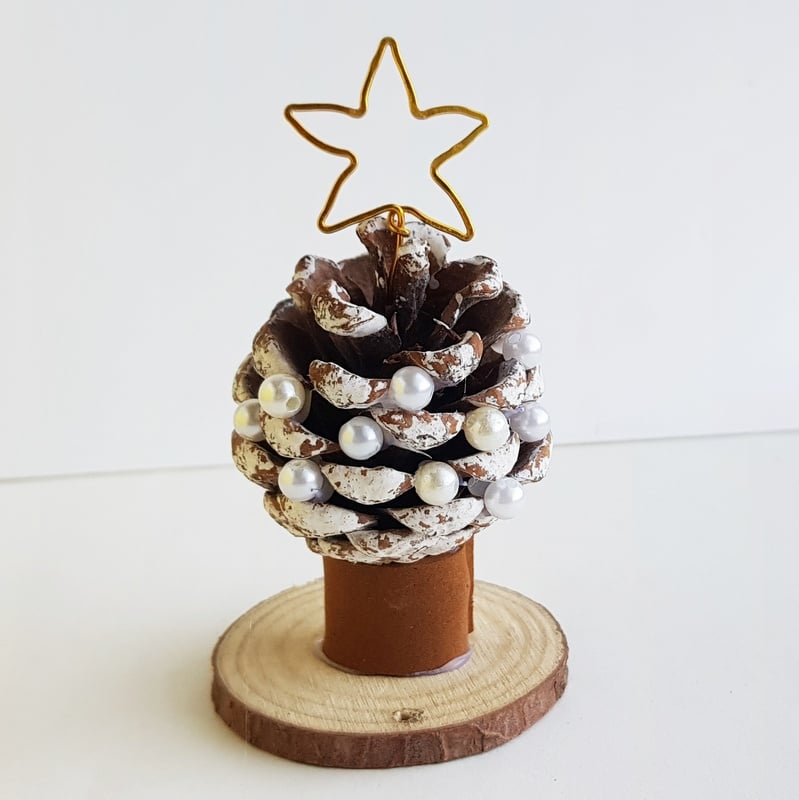
Step 6 - Add the star to the tree
Glue the decorative star on the top side of the pine cone tree.
Step 7 - Add snow
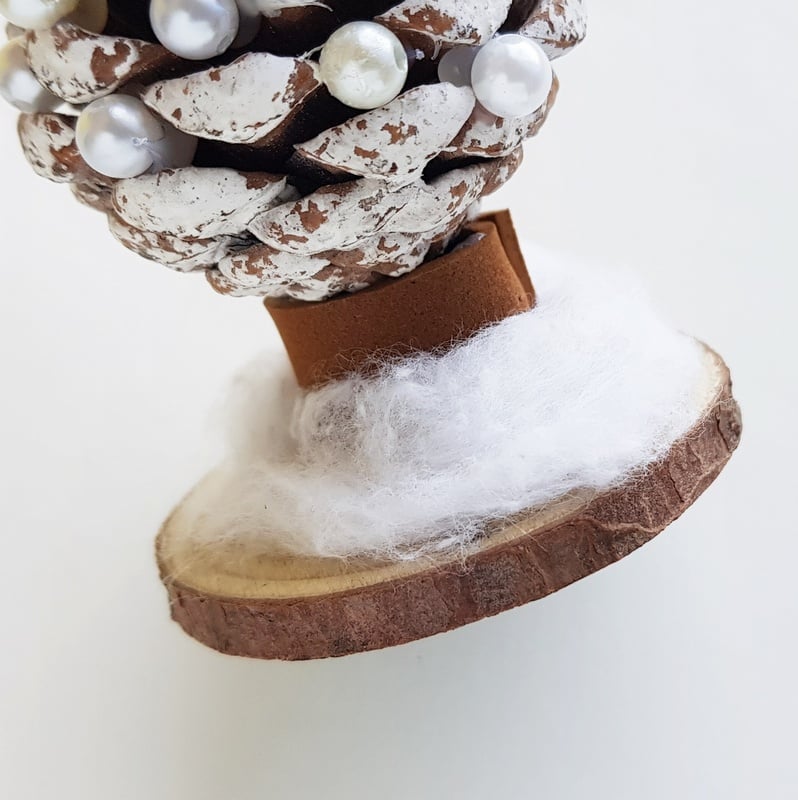
This last step is optional, but if you'd like to make your tree look a little more snowy and festive, then you can add a stretched out white cotton ball or cotton wool on the wood slice around the base of the tree,
Cushion stuffing or fiber fill also works well to give this craft a lovely wintery vibe.

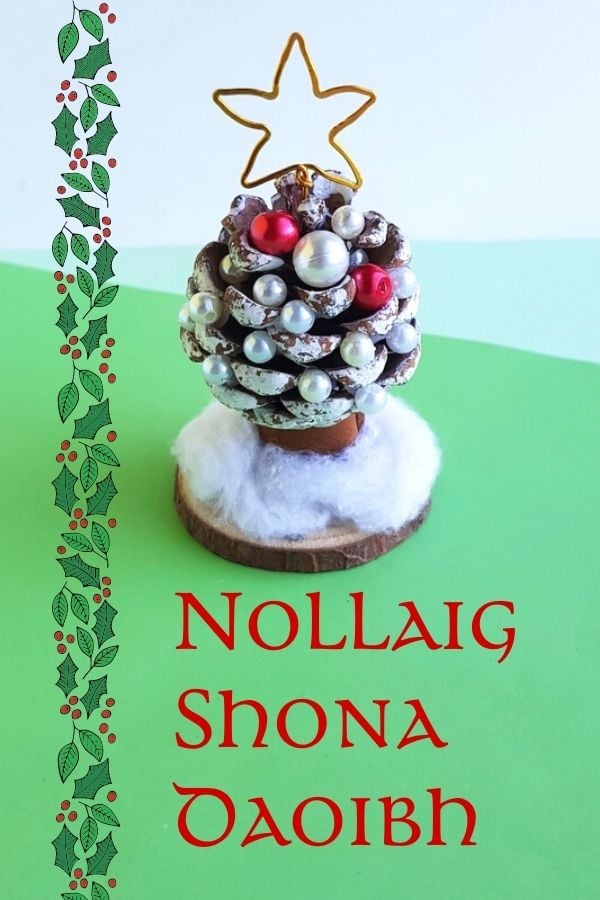
And there you have it! My nostalgic pine cone festive craft.
Printable Instruction Sheets
If you like this simple, vintage Christmas tree, then here's a free printable PDF to help you create your own.
These photographic guidelines are helpful for teachers, home schooling parents, or any group of Christmas crafters.
Simply link through one of the images above, or access these free printable instruction sheets in a PDF file right here.
Happy Christmas crafting to all.
If you enjoy crafts during the holiday season, then you might like to check out these other tutorials.
Tissue Paper Christmas Tree Holiday Card
Nativity Cut Out Activity Sheets
Thanks for following my recipes and ramblings.

Slán agus beannacht,
(Goodbye and blessings)
Mairéad -Irish American Mom
Pronunciation - slawn ah-gus ban-ock-th
Mairéad - rhymes with parade
Here are some more recipes and ramblings you might enjoy...
How To Light A Christmas Pudding
- Irish Tea and Cookie Hamper Giveaway
- How To Cook Rutabaga Or Turnip Irish Style
- Green Tartan Blanket Giveaway for Saint Patrick's Day
- Irish Countryside Simple Celtic Knot Necklace Giveaway
- Saint Brigid's Blessing For The Home Framed Printable
- Solvar - Irish Jewelry
- Celebrate the Holidays with a Taste of Ireland
- Brian McDermott's Donegal Table Cookbook Giveaway





Mags
What a lovely craft and a way to get kids interested in pine cones and art with nature.
Irish American Mom
Hi Mags - Pine cones were an important part of our crafting supplies when I was a little girl in Dublin. They were available in abundance and best of all they were free. Thanks for checking out this craft.
Best wishes,
Mairéad