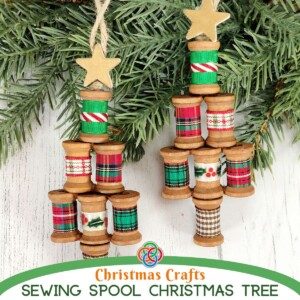
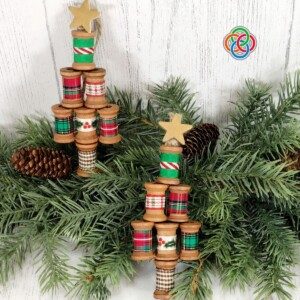
Sewing spools and festive ribbons are used to make this colorful Christmas tree ornament. This vintage craft makes an impressive gift and is fun for all the family to make.
You can create large or small trees as Christmas decorations, depending upon the size of sewing spool you use. In this post, you'll learn how to make thread spool ornaments for the home. Decorate your tree with these colorful ornaments that are easy to make and fun to display.
Plus, homemade Christmas ornaments make great gifts.
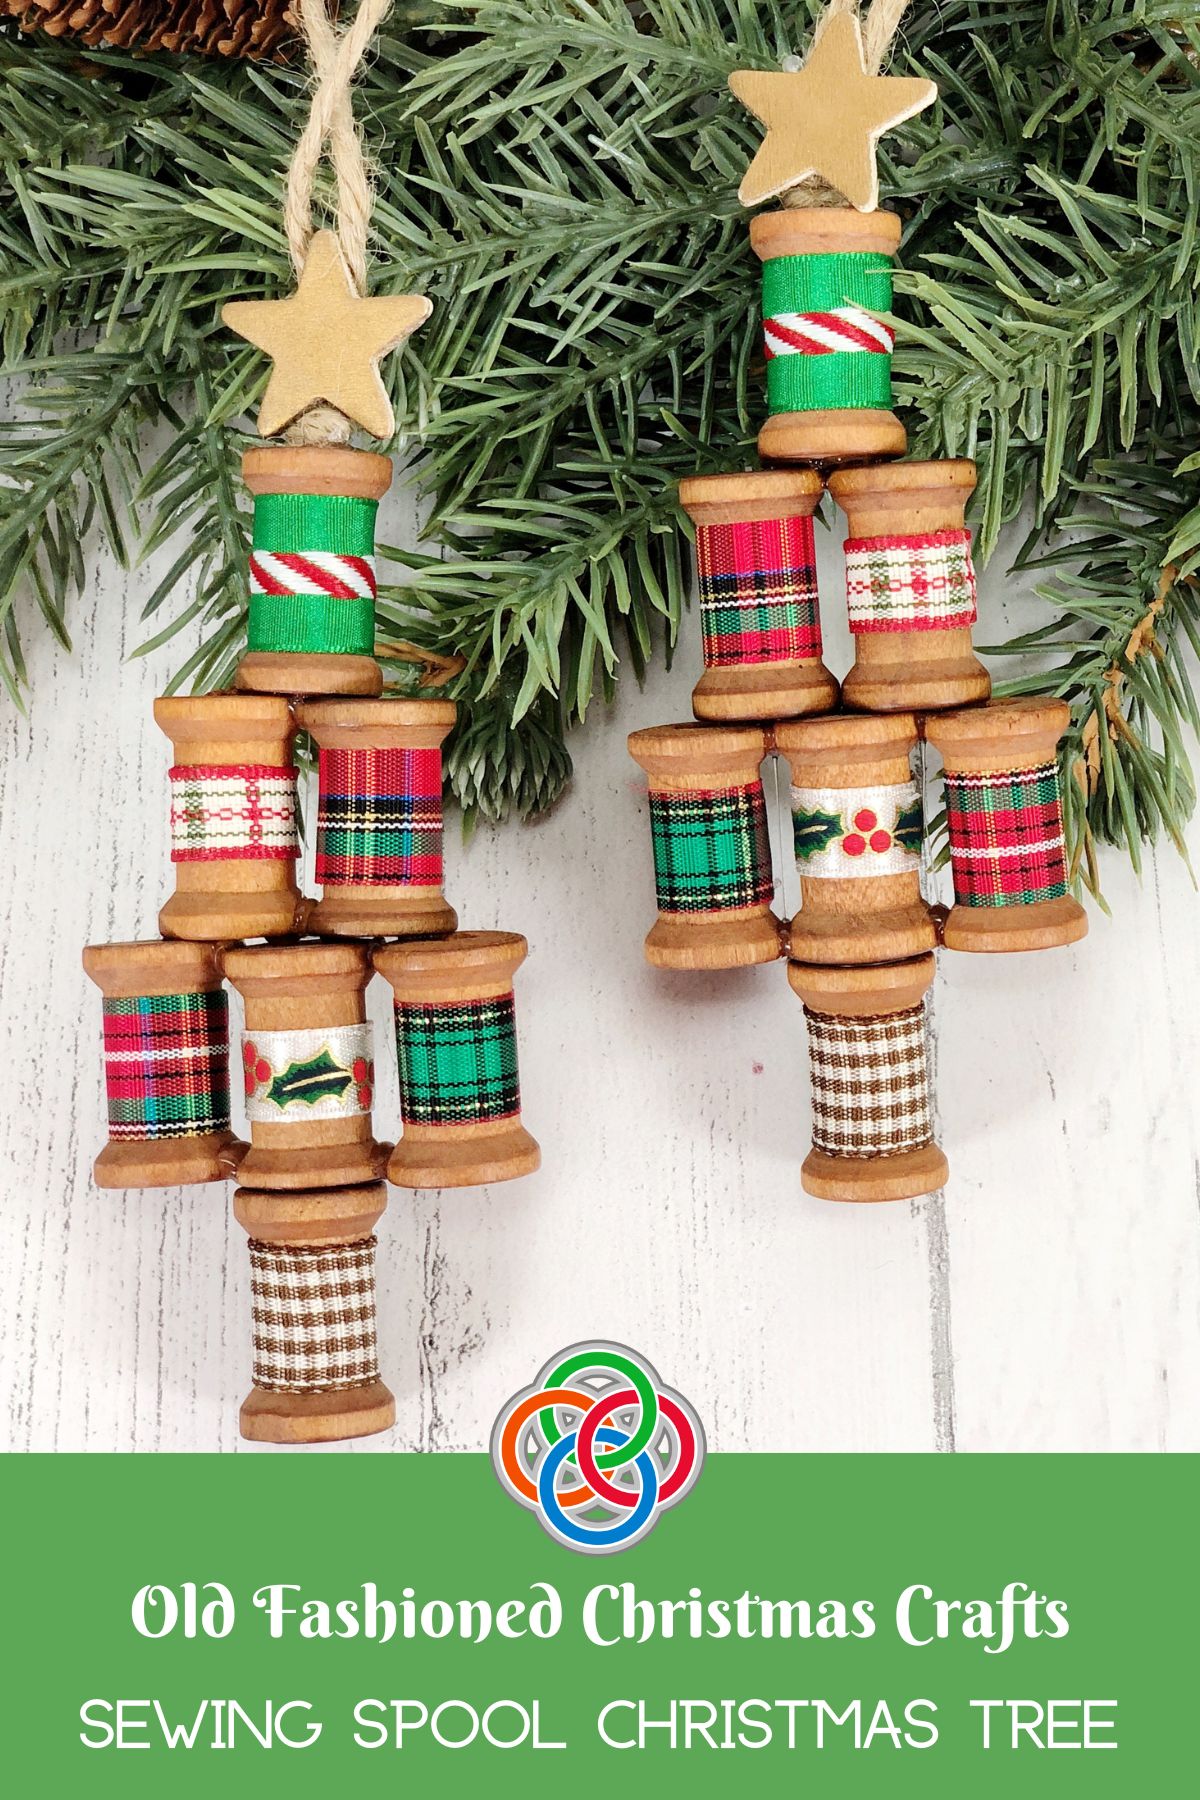
Thread spool ornaments are a versatile decoration. They’re fast and easy to make, too. This article gives step-by-step instructions for making thread spool ornaments. Plus, it covers many fun ideas for displaying them.
Table of Contents
Thrifty Christmas Craft Using Sewing Spools
I love this craft because it uses up something that would normally be thrown away - old sewing spools.
If you're not a sewer and don't have any leftover sewing spools, you can still make this craft. Most craft stores sell packets of wooden spools for those who love to create things but don't have any extra old sewing spools on hand.
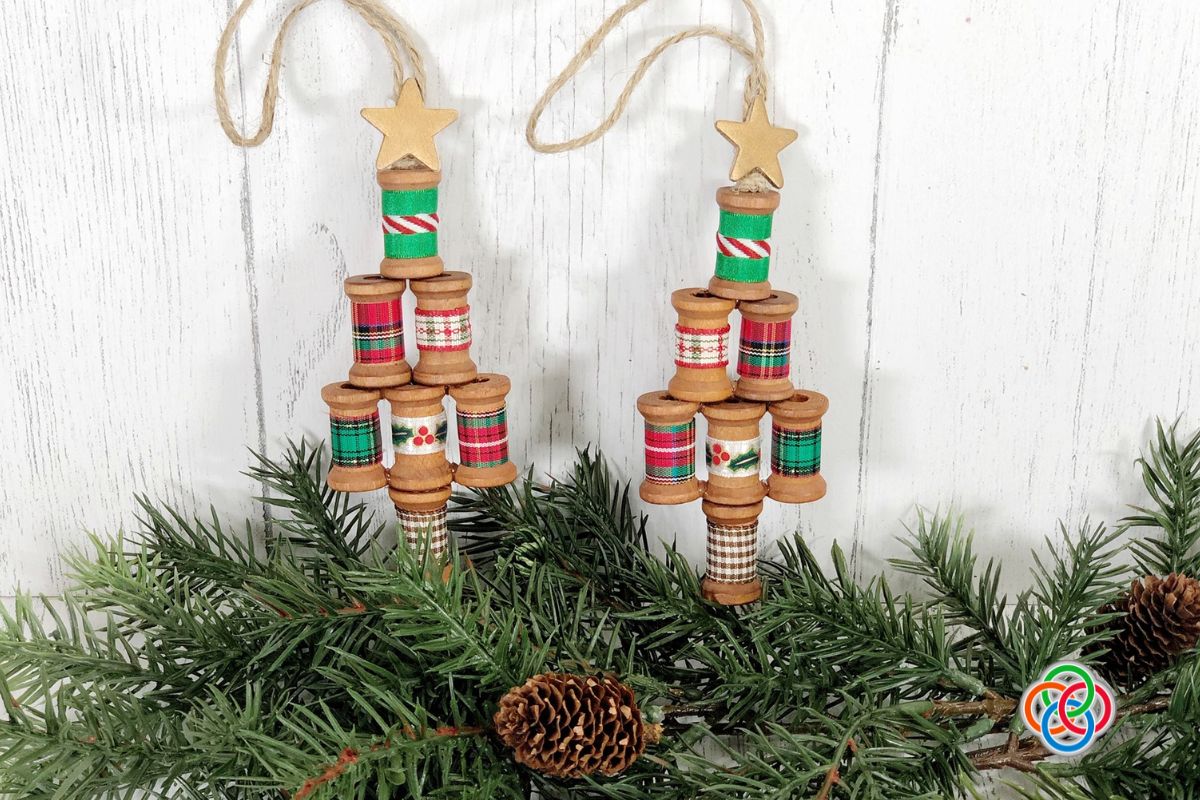
Now, today's craft is definitely for those of us who are thrifty, or like to use up all of our old fabric pieces scraps of ribbons, and even lace. You could make a gorgeous tree with old scraps of lace.
Plus this vintage looking craft is adorable too and a perfect Christmas gift for teachers or loved ones.
Little ones can use this craft to improve their counting and motor skills. You could have a whole forest of trees before you know it, if a group of young friends are crafting together.
Using Empty Thread Spools for Crafts in Ireland
When I was a little girl growing up in Ireland, we always saved my mother's old sewing spools for crafts. She made all our clothes on her sewing machine so there were plenty of empty thread spoons left over.
We would hammer four nails into the top of an old wooden spool, and then using old leftover wool and a crochet hook, we used the spool to knit a snake like tube. Our snakes grew down the spool hole at the center, as we lifted loops of wool over the nails with the crochet hook. We sewed our woven tubes into rolls to make table mats. I suppose that's a craft for another day.
So, let's move on and learn how to put this sewing spool craft together.
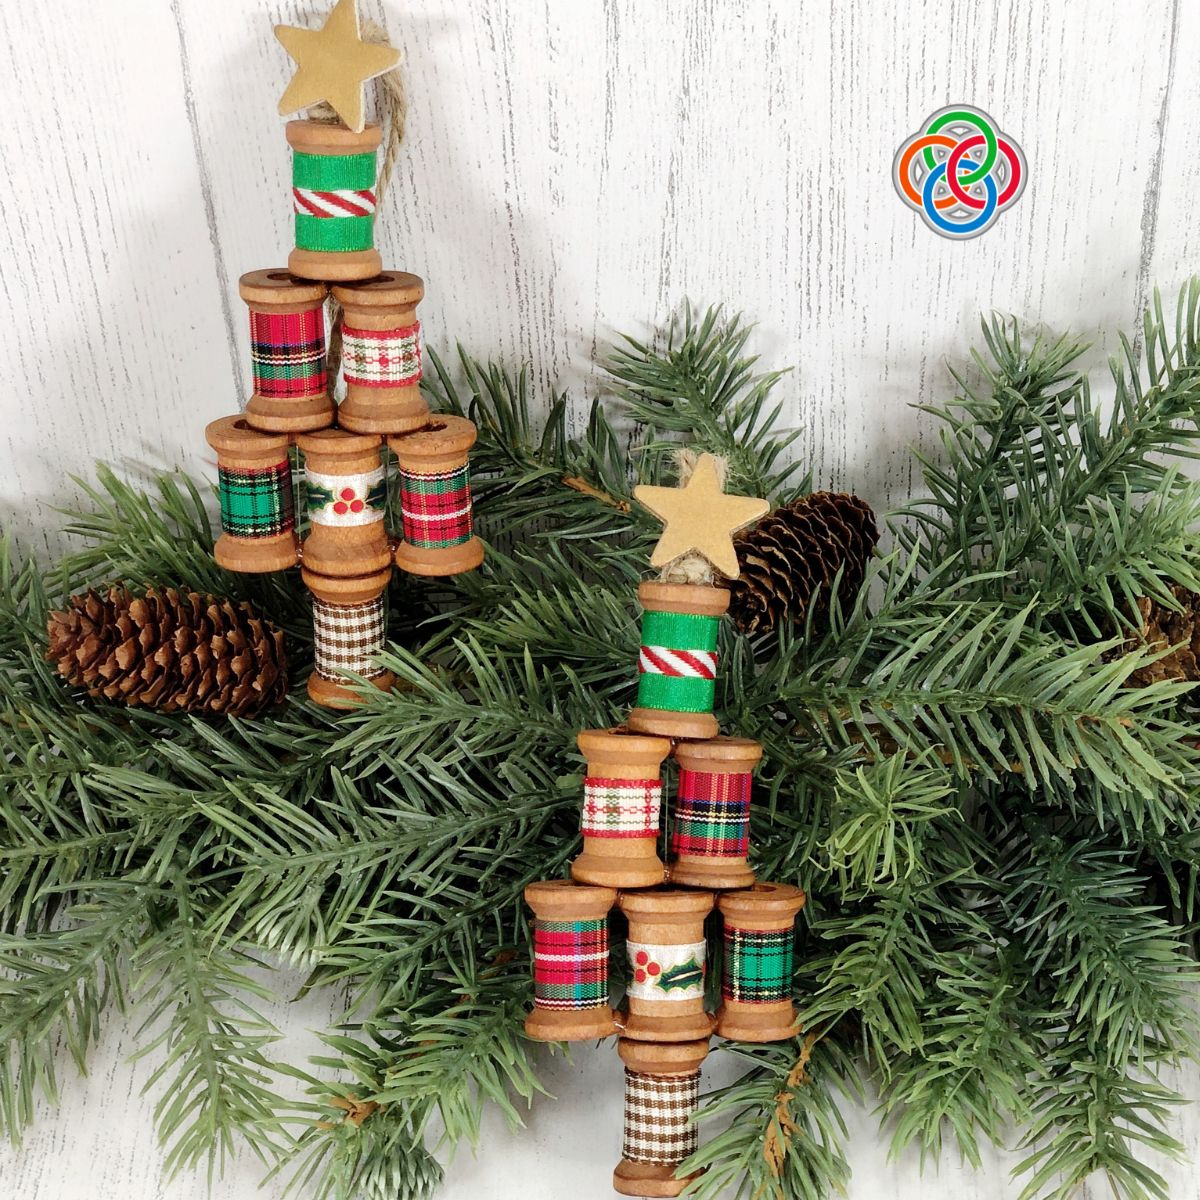
Materials for a Sewing Spool Christmas Tree
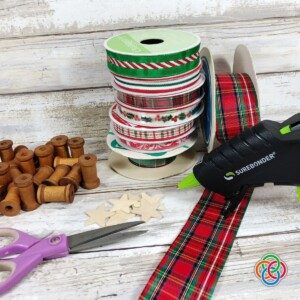
Here's what you'll need to put these festive tree ornaments together. You'll find all of the details in the printable craft instruction sheet at the bottom of this post.
- Wooden craft spools - ½” tall spools work great.
- Small wooden star for each tree you make
- Strips of ribbon to cover the middle of each spool
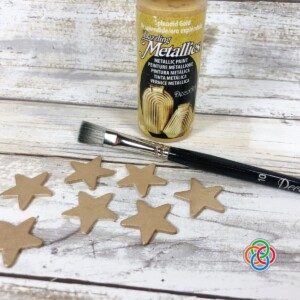
- Craft paint to color the wooden star (gold, silver, yellow or white paint works great)
- Glue gun and glue sticks
- Paintbrush
- Scissors
- Ruler
- Twine ( natural twine adds a lovely vintage appeal to this craft).
I used empty wooden thread spools for this craft, but feel free to use any kind of spool you may have on hand. I love the look of the vintage wooden spools I used.
If you have a sewing friend or two, why not ask them to save their old wooden thread spools for you.
Since we will only be gluing the spools together and not hammering nails into them, the plastic variety will work well too.
However, be sure to choose a spool with a flat surface on the top and bottom so that you have two flat surfaces to glue together.
You could get creative with this craft and add some decorative buttons or beads to the ribbons.
How To Assemble Your Christmas Tree Craft
Firstly, gather all of the required supplies together for making your thread spool ornament.
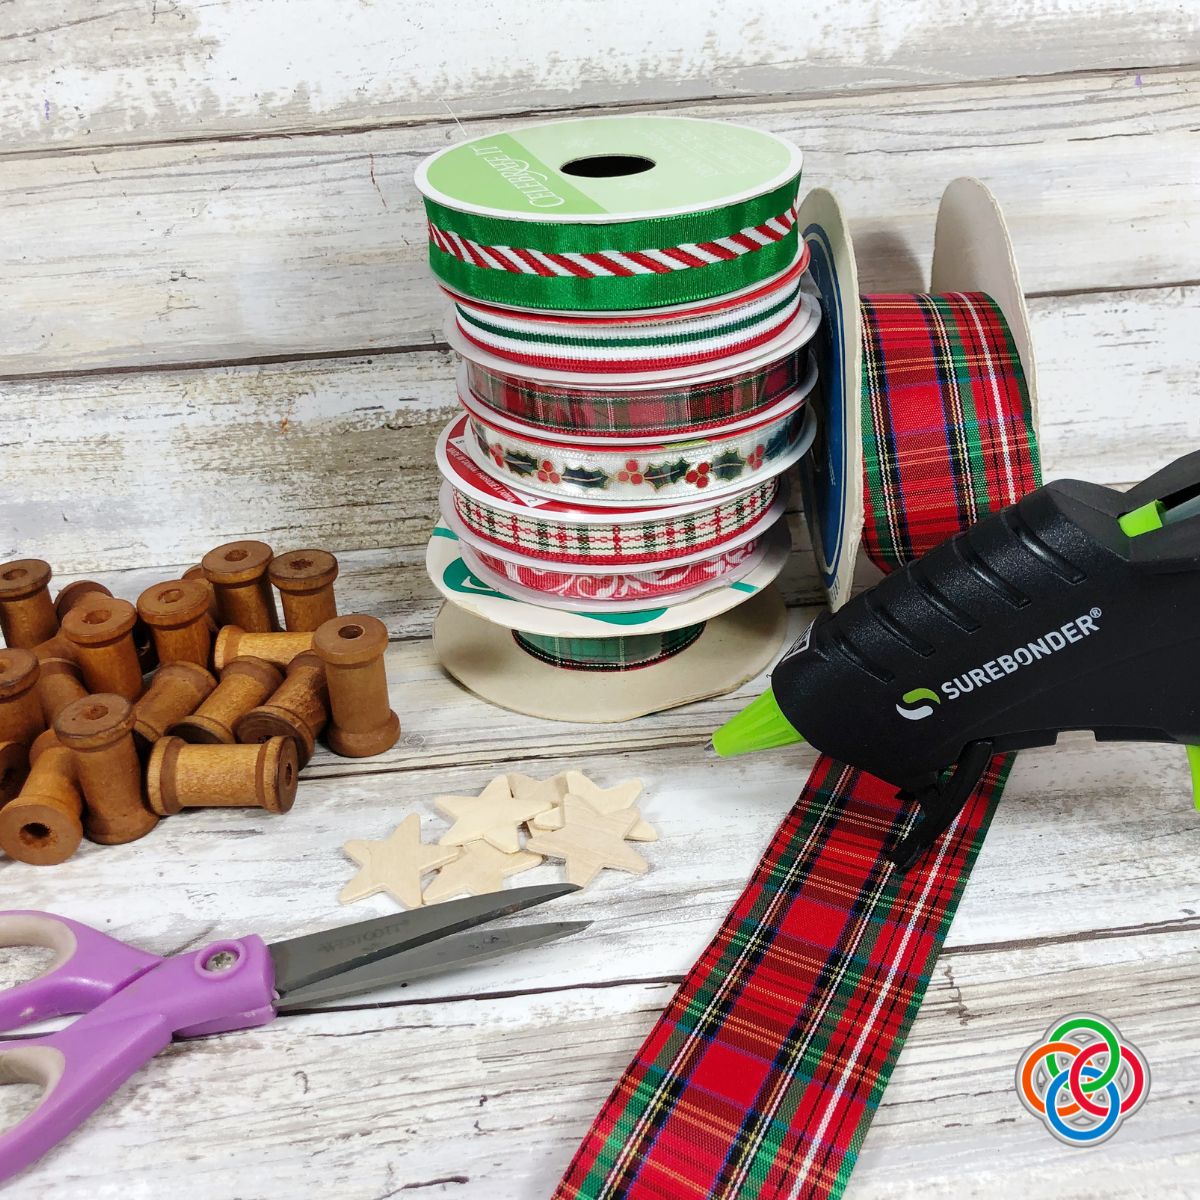
Wooden spools come in different sizes. These photos show ones that are ½” tall and that are already stained brown. If you use plain unstained spools you can choose to paint them any color you wish.
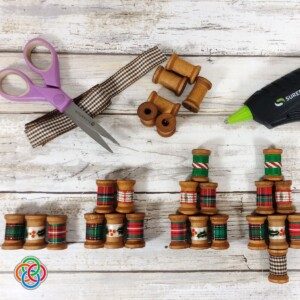
Measure out the amount of ribbon or fabric required to cover the center of each spool with a slight overlap for gluing.
You can use a piece of string to measure around the spool and lay it down on the ribbon to cut the exact size you need.
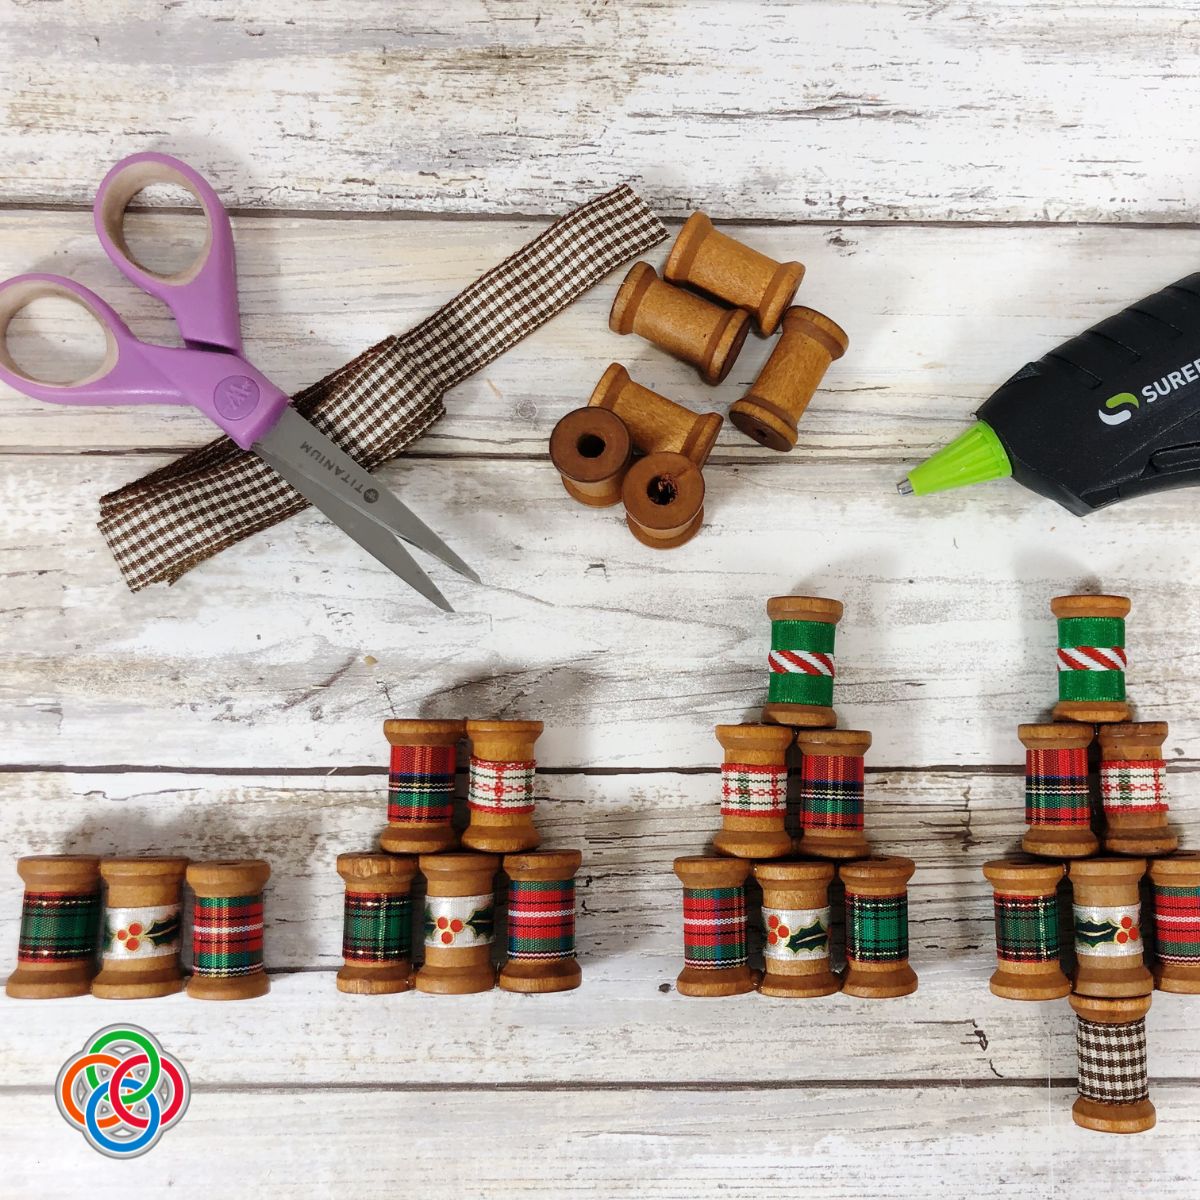
Cut the assorted ribbons to fit spools. The bottom spool should have brown ribbon to resemble a tree trunk.
The other six can be in color patterns of your choosing, but I used green and red for a traditional festive look.
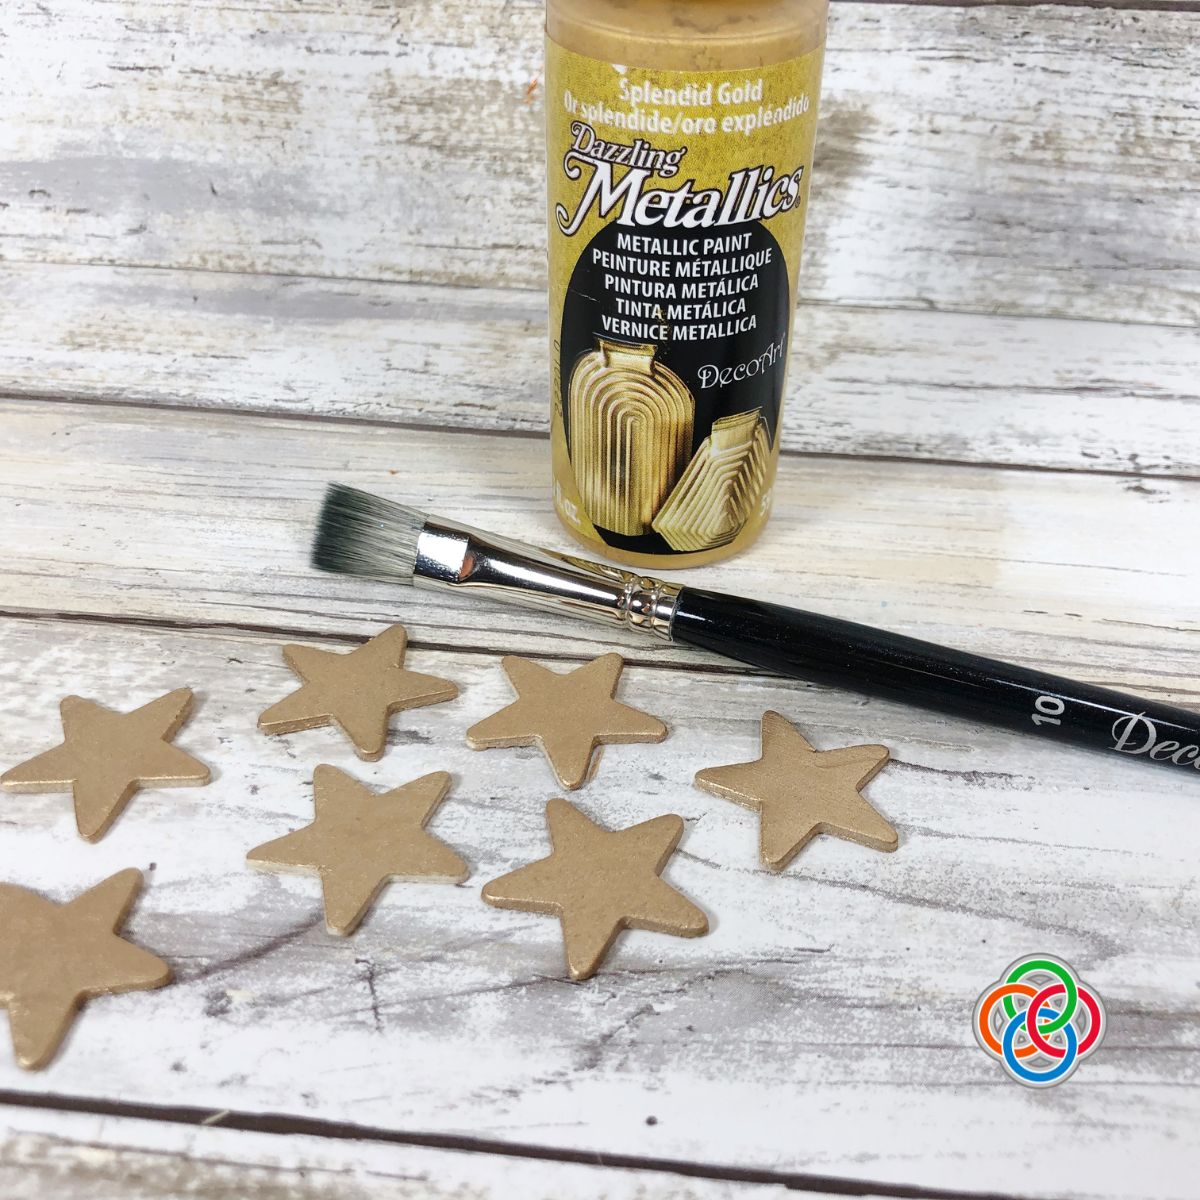
Paint a small wooden star with metallic gold paint to place on the top of your tree. Let it dry, and the if necessary, apply a second coat.
Assemble the sewing spool tree by gluing three spools together for the base. Add two spools on top of this row, and then a final single spool on the top of the pyramid.
Glue the brown tree trunk spool to the bottom right in the center of your tree pyramid.
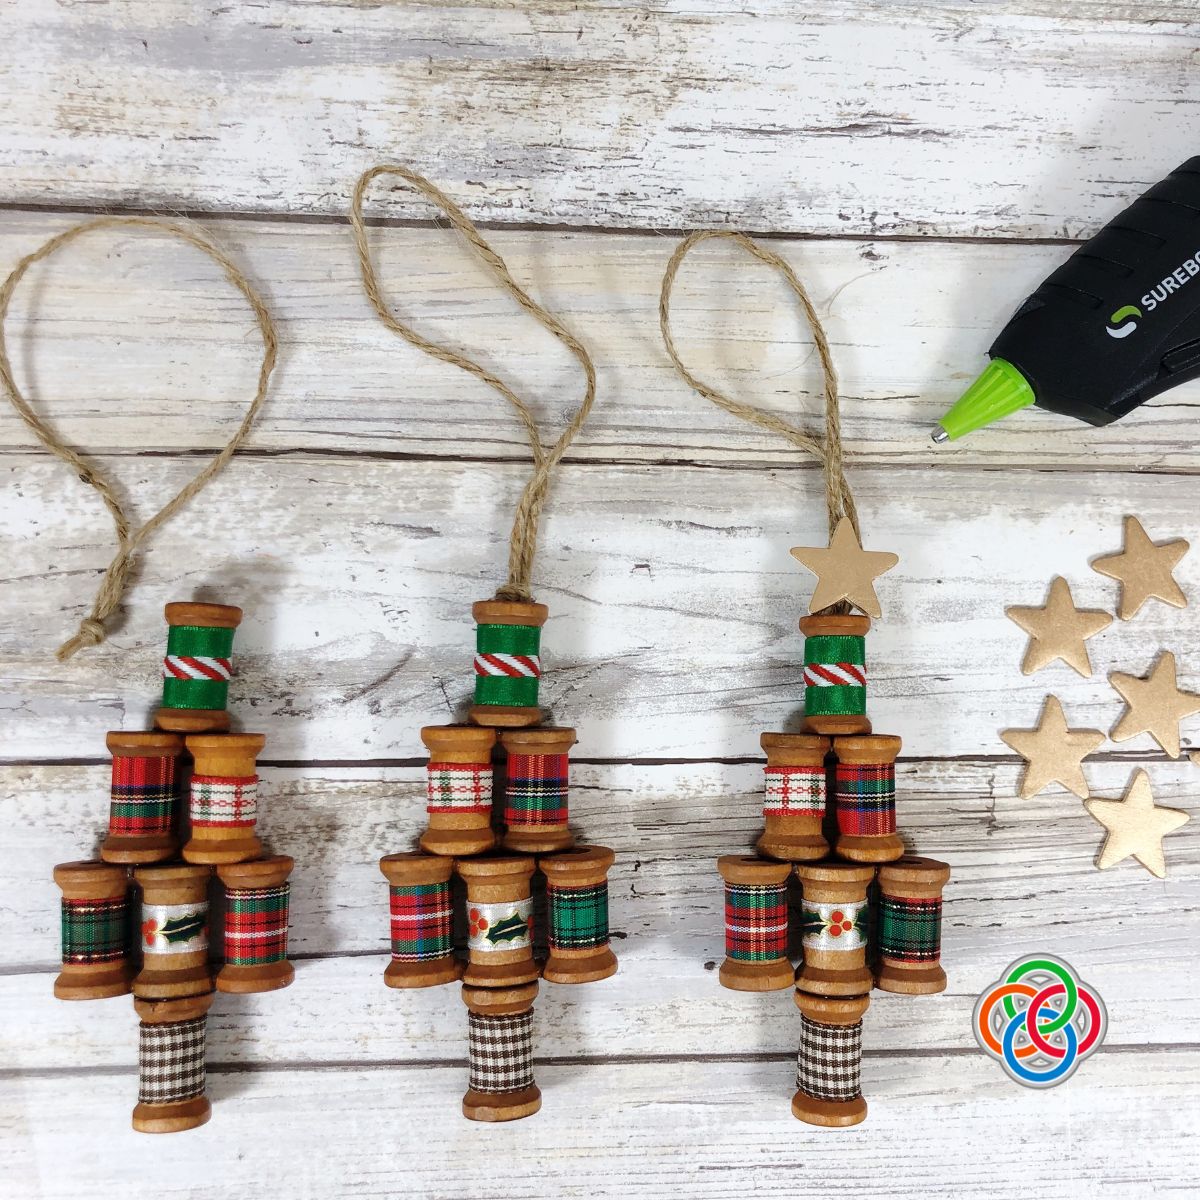
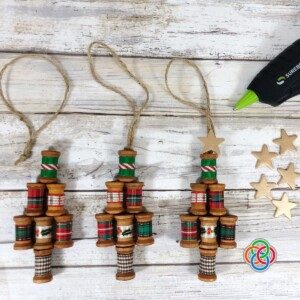
To finish, knot a ten-inch section of twine into a loop and attach to top spool with a glue gun and glue sticks.
Glue the star to the twine with a glue gun and glue sticks. Little ones should only use a hot glue gun with adult supervision. Room temperature craft glue works just as well.
Printable Craft Card and Video
Here's a short video outlining the steps for making this Christmas tree craft.
Here's a printable instruction sheet for this handmade ornament. You can print with or without step-by-step photo instructions.
Sewing Spool Christmas Tree Ornament
Equipment
- 1 glue gun and glue sticks
- 1 Scissors
- 1 Ruler
- 1 Paintbrush
Materials
- 7 wooden craft spools
- 1 wooden star
- 7 strips ribbon 6 in assorted green and red festive patterns, and one brown pattern.
- acrylic craft paint metallic gold
- 10 inch strip of twine natural
Instructions
- Measure and cut the assorted ribbons to fit around a wooden spool. Use the glue gun with hot glue to affix a piece of ribbon around each wooden sewing spool. The brown pattern ribbon spool will form the tree trunk.
- Use the metallic gold paint and paint brush to color one small wooden star. Allow it to dry and then apply a second coat. Allow to dry completely.
- Assemble your sewing spool tree by gluing three spools together to create the base of your tree. Next, glue two spools on the second row and then one spool at the top, You are creating a pyramid shape. Finally, glue the single brown ribbon spool at the bottom and in the center to form the tree trunk. Note: provide supervision for children using a glue gun to avoid burns. A low temperature glue will also work if you are concerned about safety.
- Tie a knot in a ten-inch section of twine creating a loop. Glue this loop to the back of the top spool of your Christmas tree using a glue gun and melting glue sticks. Attach the star to the twine at the front with more glue.
- Allow this craft to dry completely before hanging it on a Christmas tree or standing it upright for display purposes.
Kids young and old will enjoy this vintage craft, which even makes a great addition to the top of the tree. Have a wonderful time creating your own special ornaments for Christmas this year and giving your holiday decor a homemade touch.
Happy crafting!

Slán agus beannacht,
(Goodbye and blessings)
Mairéad -Irish American Mom
Pronunciation - slawn ah-gus ban-ock-th
Mairéad - rhymes with parade
Books
- That Further Shore By John D. Feerick
- Sacred Stone, Sacred Water Edited By Carolyn Brigit Flynn
- From Here To Bethlehem - A Short Story By Kathryn Guare
- Oliver Goldsmith - Anglo Irish Poet
Crafts
- Homemade Plaid Shamrock Decoration for Saint Patrick's Day
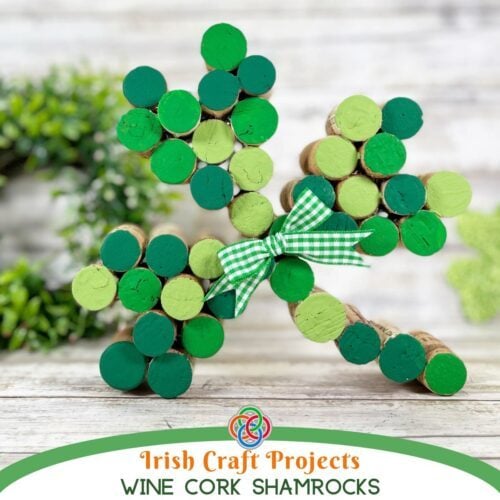
- Wine Cork Shamrock Craft for Saint Patrick's Day
- DIY Shamrock Pop-up Card for Saint Patrick's Day Greetings
- Paper Strip Shamrock Mobile Craft with Printable Tutorial






Leave a Reply