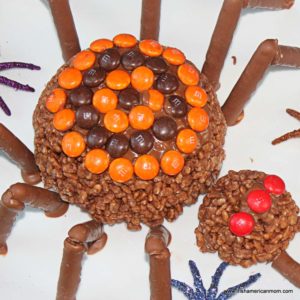
Chocolate Rice Krispie Spiders are easy-to-make, no-bake treats, perfect for Halloween. Create a spooky centerpiece for all your trick or treaters.
Decorate with colored candies and chocolate fingers, specialty cookies from England and Ireland. Kids will love these edible spider legs.
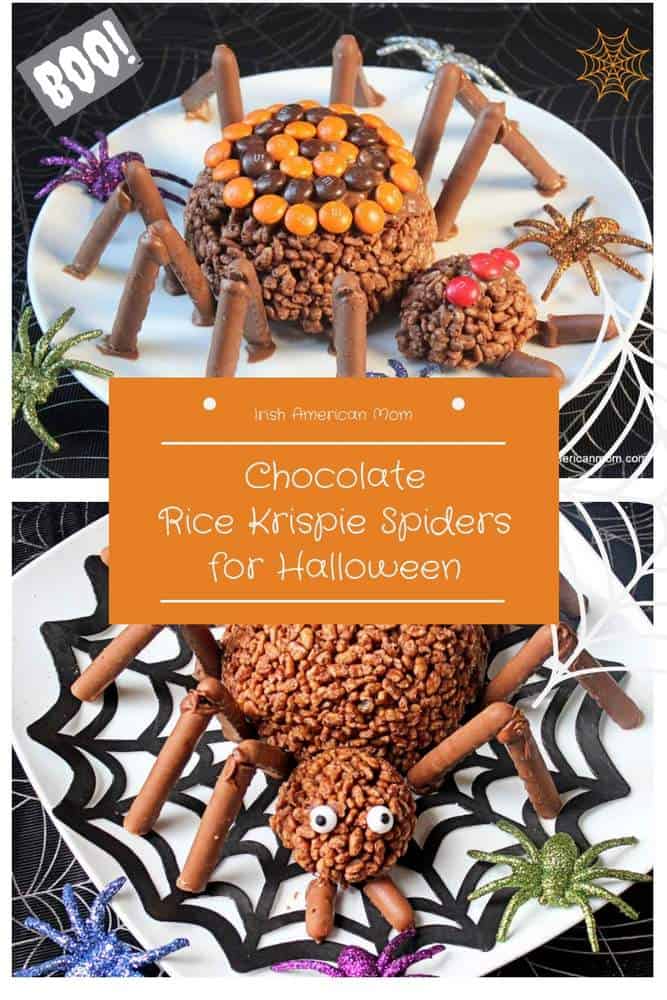
Table of Contents
Halloween Party Fun
If you're planning a get together to celebrate Halloween, why not make an edible chocolate spider - the perfect center piece for any festive Halloween table.
Plus this is a perfect project for a little Halloween fun with little ones.
You can choose how many legs, how many eyes, tentacles, your give your spider. Or maybe your spider will have a tongue - I don't know if they do in real life, but who cares. This is your creation and you can do whatever you please.

You can make a simple chocolate spider, or get creative and decorate your spider's back.
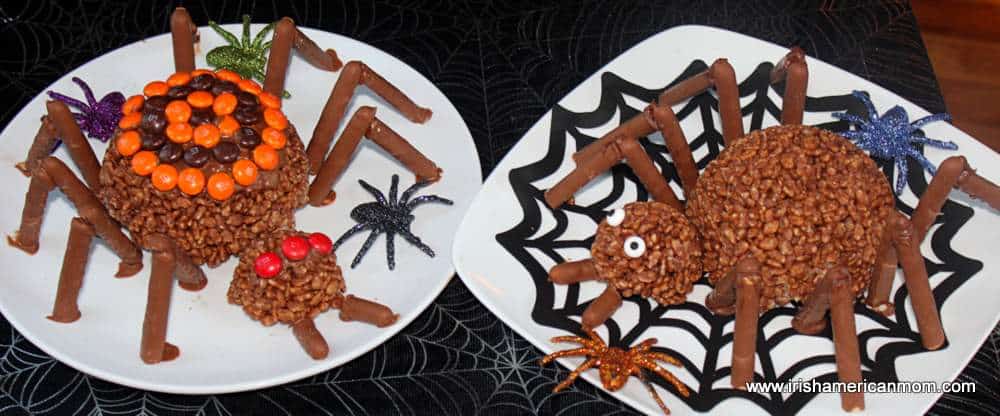
In Ireland, rice krispie buns are a favorite childhood treat.
These are simple cakes made with melted chocolate and rice cereal.
I started thinking about how easy these Irish birthday party treats are to make, and thought why not use this simple recipe to create something special for Halloween.
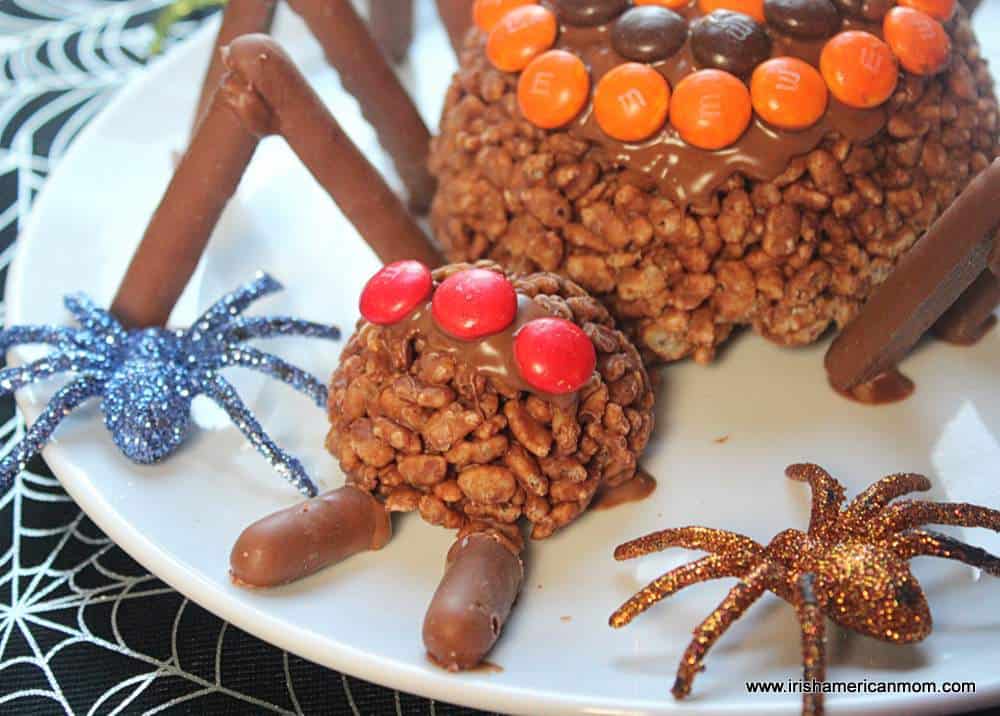
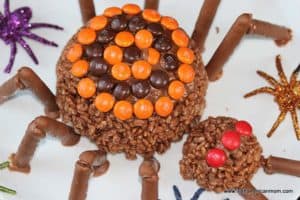
M&M's make great eyes.
I got carried away and gave this spider three eyes.
Why not have a little fun?

Or specialty edible, candy eyes are perfect for spiders that seem to be watching you from the plate.
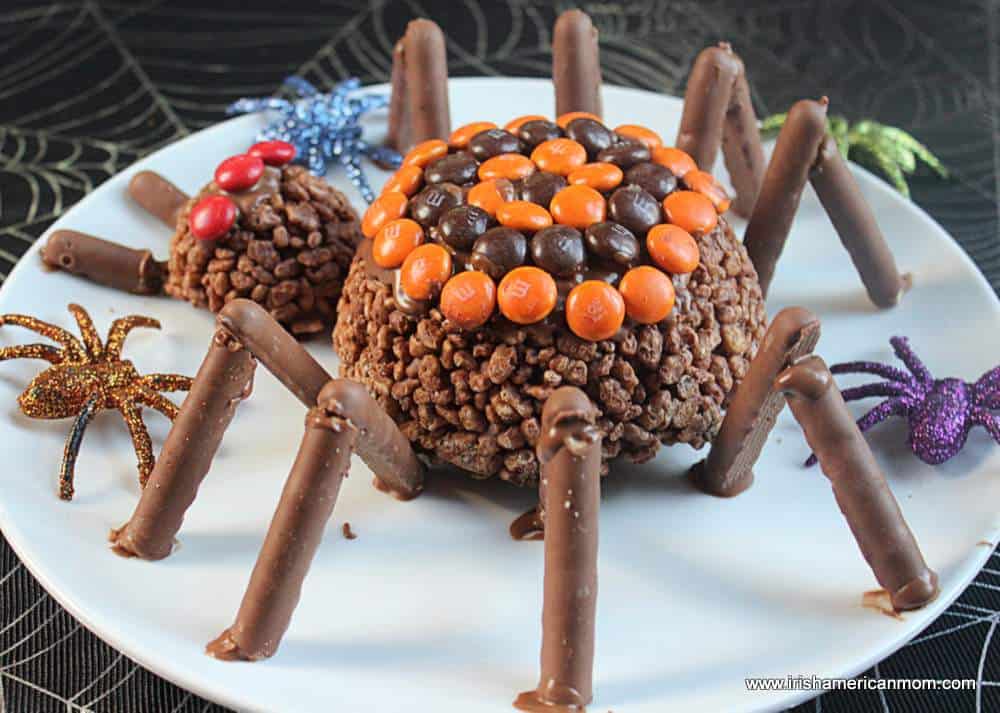
I use Cadburys Chocolate Fingers to create hinged spider legs.
Legal Notice: The links below for Chocolate Fingers are affiliate links, which means I will earn a commission should you choose to make a purchase through one of these links.
Chocolate finger biscuits can be purchased in the United States in Walmart, or Meijers grocery stores. They're also available from World Market, or can be purchased online from Amazon or Food Ireland.
Chocolate fingers were first created way back in 1897 and are still a favorite in Ireland and England to this very day. They're wonderful for cake decorating.

If you can't find chocolate fingers then you could use Kit Kat sticks as an alternative.
And so, let's get started with a little tutorial on how to make Chocolate Rice Krispie Spiders.
Ingredients for Chocolate Rice Cereal Spiders
Here's a list of the ingredients. You'll find exact quantities in the printable recipe below.
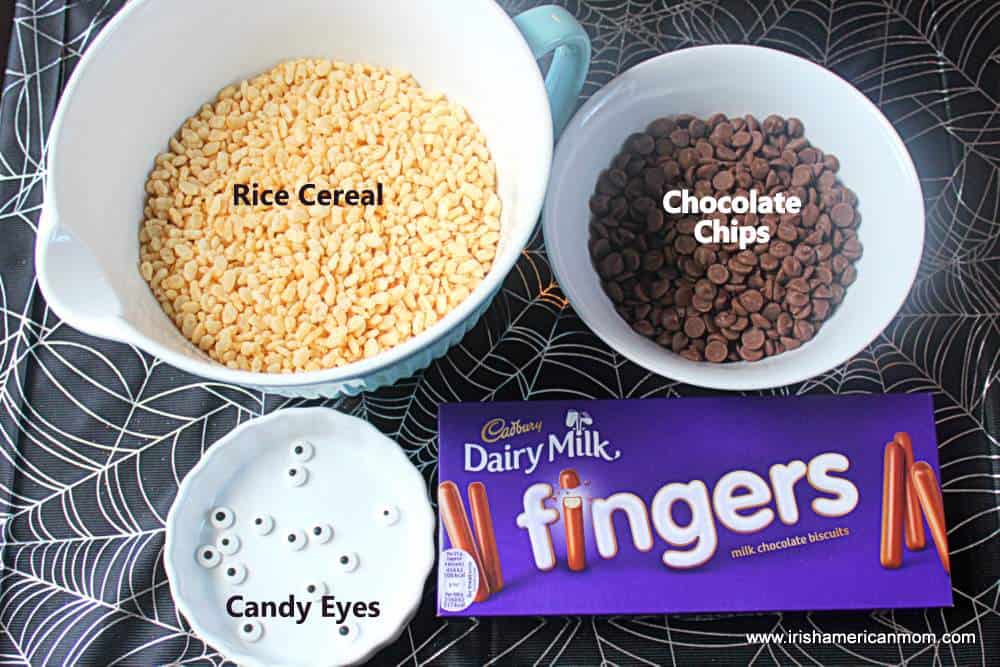
- rice cereal
- chocolate chips to make the spider bodies
- chocolate chips for decorating
- candy eyes
- chocolate fingers to make the legs
- M&M's or Irish Smarties for decorating (optional)
Ingredient Tips and Substitutions
These are the basic ingredients required, but you can get creative and substitute your favorite candy.
The candy eyeballs can be replaced with chocolate covered canides like M & M's or smarties in Ireland.
The legs could be make with dark Twizzlers, or pretzels.
The spider's back could be decorated with chocolate sprinkles to look like spider hairs.
Directions for Chocolate Halloween Spider Center Pieces
Here you'll find step-by-step photographic instructions to help you create your own chocolate Halloween masterpiece.

How much chocolate will I need
I used a small dessert bowl to create the spider's body and an ice cream scoop for the head. These are lined with saran wrap so that the chocolate covered cereal won't stick to the sides as it sets.
The amount of cereal and chocolate required depends on the size of the bowls and scoops that you use.
You can figure out the amount of cereal you need for one spider by filling the bowl you are going to use for the body with rice cereal, plus one ice cream scoop of cereal for the head. Then measure the total cereal using cup measurements.
Work out how much chocolate you will need by using this ratio:
1 cup of rice cereal to 2 ounces of chocolate chips.
If you're going to make two spiders, then measure the amount of rice cereal required to fill two of your bowls, plus two ice cream scoops. If you are unsure about your maths, err on the side of too much chocolate, rather than too little chocolate.
Once you know the amount of chocolate and rice cereal you need, then you're ready to start creating your spiders.
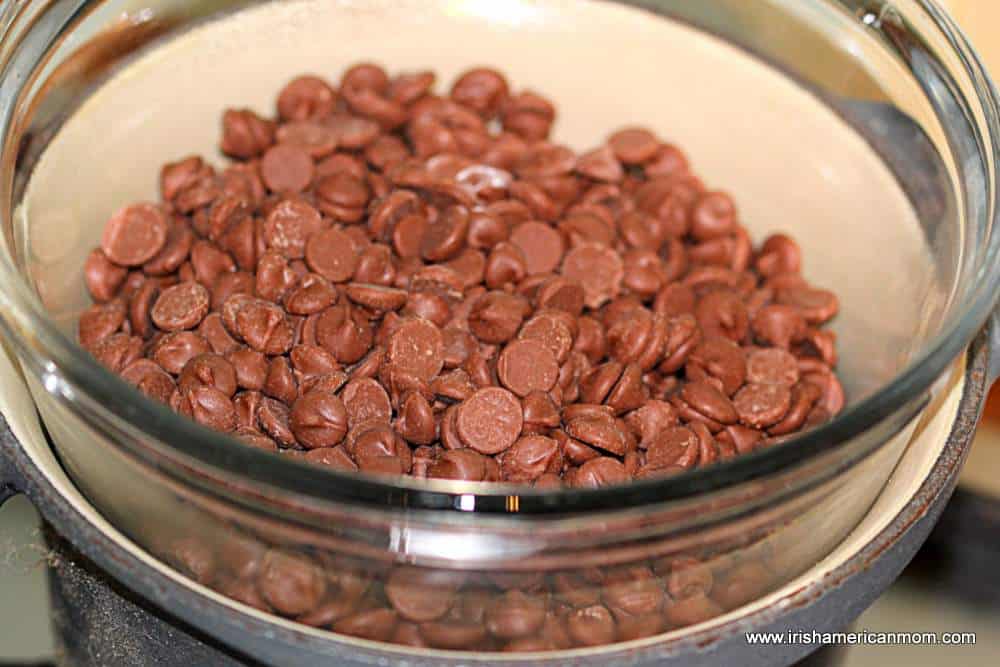
Melt the chocolate
Melt the chocolate chips in a heat-proof bowl over a saucepan of boiled water, or bain marie.
Alternatively, you can melt chocolate chips in the microwave. Add the chocolate chips to a heat-proof bowl, and microwave in 30 second bursts.
Stir the mixture in between each episode of microwaving.

Combine melted chocolate and rice cereal
Pour the melted chocolate over the rice cereal in a large bowl.
Protect your fingers with oven gloves as you handle the hot bowl of melted chocolate.
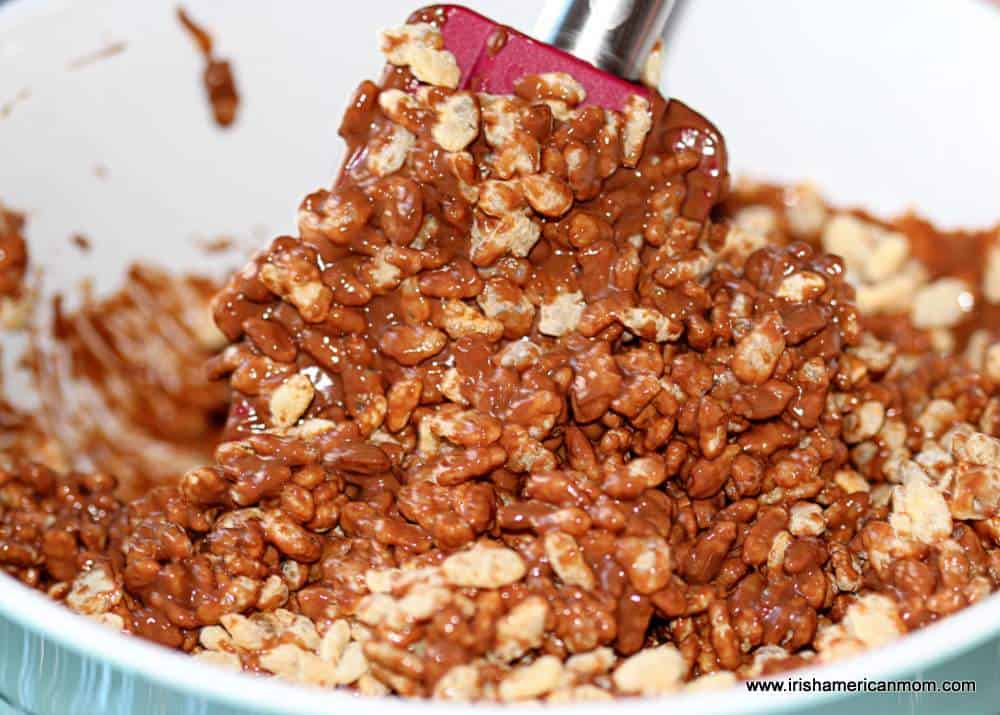
Use a spatula to scrape all the melted chocolate out of the bowl.
Use a spatula to mix the melted chocolate and rice cereal together.
Be gentle as you combine the ingredients. If you stir too violently the rice cereal will crumble and your spiders will not have cereal air pockets.
You need to blend the chocolate and cereal thoroughly to ensure all of the rice krispies are fully coated in chocolate. Scoop down into the bottom of the bowl to mix the cereal hiding way down there.

Fill the bowls with chocolate rice cereal mixture
Fill the saran wrap covered bowls and scoops with the chocolate covered rice crispie cereal, keeping the upper surface flat.
Cover with saran wrap and allow to cool completely to set.

Add spider legs and pincers
Prepare the legs by cutting the curved ends off the weight bearing sides of 16 chocolate fingers on a slightly inward diagonal.
This means both ends of the outer leg limbs need to be cut and one side of the inner limb.

Melt the additional chocolate over a bain marie.
Spread some melted chocolate on a plate underneath the body and head of the spider to help hold it in place.

Dip the weight bearing ends of the chocolate fingers in melted chocolate to help stabilize them after you place them in a hinged position on the two sides of the spider's body.
Eight legs are required for each spider.

Cut the last two chocolate fingers in two and use them to make two pincers for each spider's head.
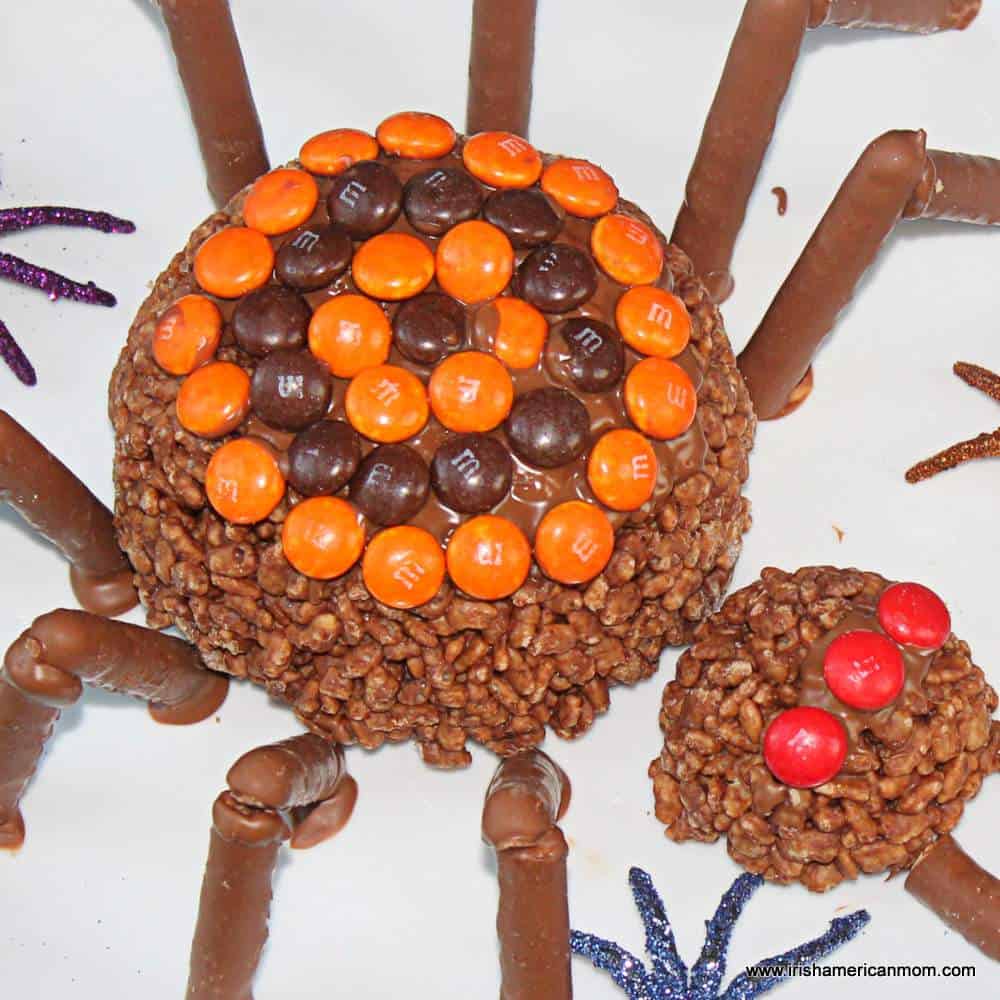
You can use additional M&M's, or Smarties if you're in Ireland, to decorate your spider's back. Just use the melted chocolate to hold the decorative candy in place.
You can get as creative as you like, and make patterns on your spider's back.
If you can't find chocolate finger cookies then try out some pretzel sticks. You can even dip them in chocolate for effect.

Leave the spider to set at room temperature. It will take an hour or two for them to fully solidify.
You can put them in the fridge to speed up the process, but don't leave your creation in the fridge for too long. The rice cereal can get a little less crisp if kept in the fridge for a long time.
And that's how simple these edible spiders are to make.
Recipe Card for Edible Halloween Spider Centerpiece
If you would like the printable version of this recipe, here it is...
Halloween Chocolate Rice Krispie Spiders
Ingredients
- 4 cups rice cereal
- 8 ounces chocolate chips to make the spider bodies
- 4 ounces chocolate chips for decorating
- 4 M&M’s or candy eyes
- 18 chocolate fingers
- 1.69 ounces M&M’s 1 packet optional for decorating
Instructions
- Line two small dessert bowls and two ice cream scoops with plastic saran wrap, leaving extra plastic wrap for covering over the edges.
- Melt the chocolate chips in a heat proof bowl over a saucepan of boiled water, or bain marie.
- Pour the melted chocolate over the rice cereal in a large bowl.
- Use a spatula to mix the melted chocolate and rice cereal together.
- Fill the saran wrap covered bowls and scoops with the chocolate covered rice crispie cereal. Cover with saran wrap and allow to cool completely to set.
- Prepare the legs by cutting the curved ends off the weight bearing sides of the chocolate fingers on a slight inward diagonal. This means both ends of the outer leg limbs need to be cut and one side of the inner leg limb.
- Melt the additional chocolate over a bain marie. Spread some melted chocolate on a plate underneath the body and head of the spider to help hold it in place.
- Dip the weight bearing ends of the chocolate fingers in melted chocolate to help stabilize them after you place them in a hinged position on the two sides of the spider’s body. Place four legs on each side of a spider's body.
- Use melted chocolate to fix the candy eyes in place.
- Cut the last chocolate fingers in two and make two pincers for each spider’s head.
- If desired decorate the spider's back using melted chocolate and candy. Allow to cool completely to set before serving which will take about 2 hours.
Nutrition Information is estimated based on the ingredients and cooking instructions as described in each recipe and is intended to be used for informational purposes only. Please note that nutrition details may vary based on methods of preparation, origin and freshness of ingredients used.
If you like creating edible treats for Halloween here are some more recipes you might enjoy.
Easy Bat Donut Holes Recipe For Kids
Hauntingly Spooky Ghost Pretzels For Halloween
Homemade Chocolate Pretzel Spider Webs For Halloween
Happy Halloween to all.

Slán agus beannacht,
(Goodbye and blessings)
Mairéad -Irish American Mom
Pronunciation - slawn ah-gus ban-ock-th
Mairéad - rhymes with parade
Here are some other Halloween posts, with an Irish twist, which you might enjoy.
Here are some Pinterest friendly images for those who like to store recipes on their Pinterest boards....

And here's another pin friendly graphic...

Halloween Recipes
- Skeleton Face Cookies For Halloween
- Green Monster Face Cookies For Halloween
- Scary Halloween Food and Dishes
- Stacked Sugar Witch Cookies With Video Tutorial For Halloween
Irish Side Dishes
- Oven Roasted Tomatoes
- Sautéed to Perfection: Unlocking the Secrets of Flavorful Onions
- Potato Salad With Apple and Celery
- Buttered Baby Carrots














Rita
Brilliant idea. Thanks for the tutorial.
Irish American Mom
Hi Rita - Thanks for rating this recipe and glad you like it. Thanks for checking out my tutorial.
All the best,
Mairéad