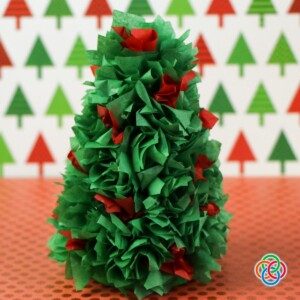
Tissue paper Christmas trees are super simple to put together, when using a cardboard craft cone as the support for your tree.
A quick and easy homemade centerpiece, this decorative craft makes a lovely gift, or can be displayed on the mantle or book shelves or anywhere that could do with a little extra festive coloring.
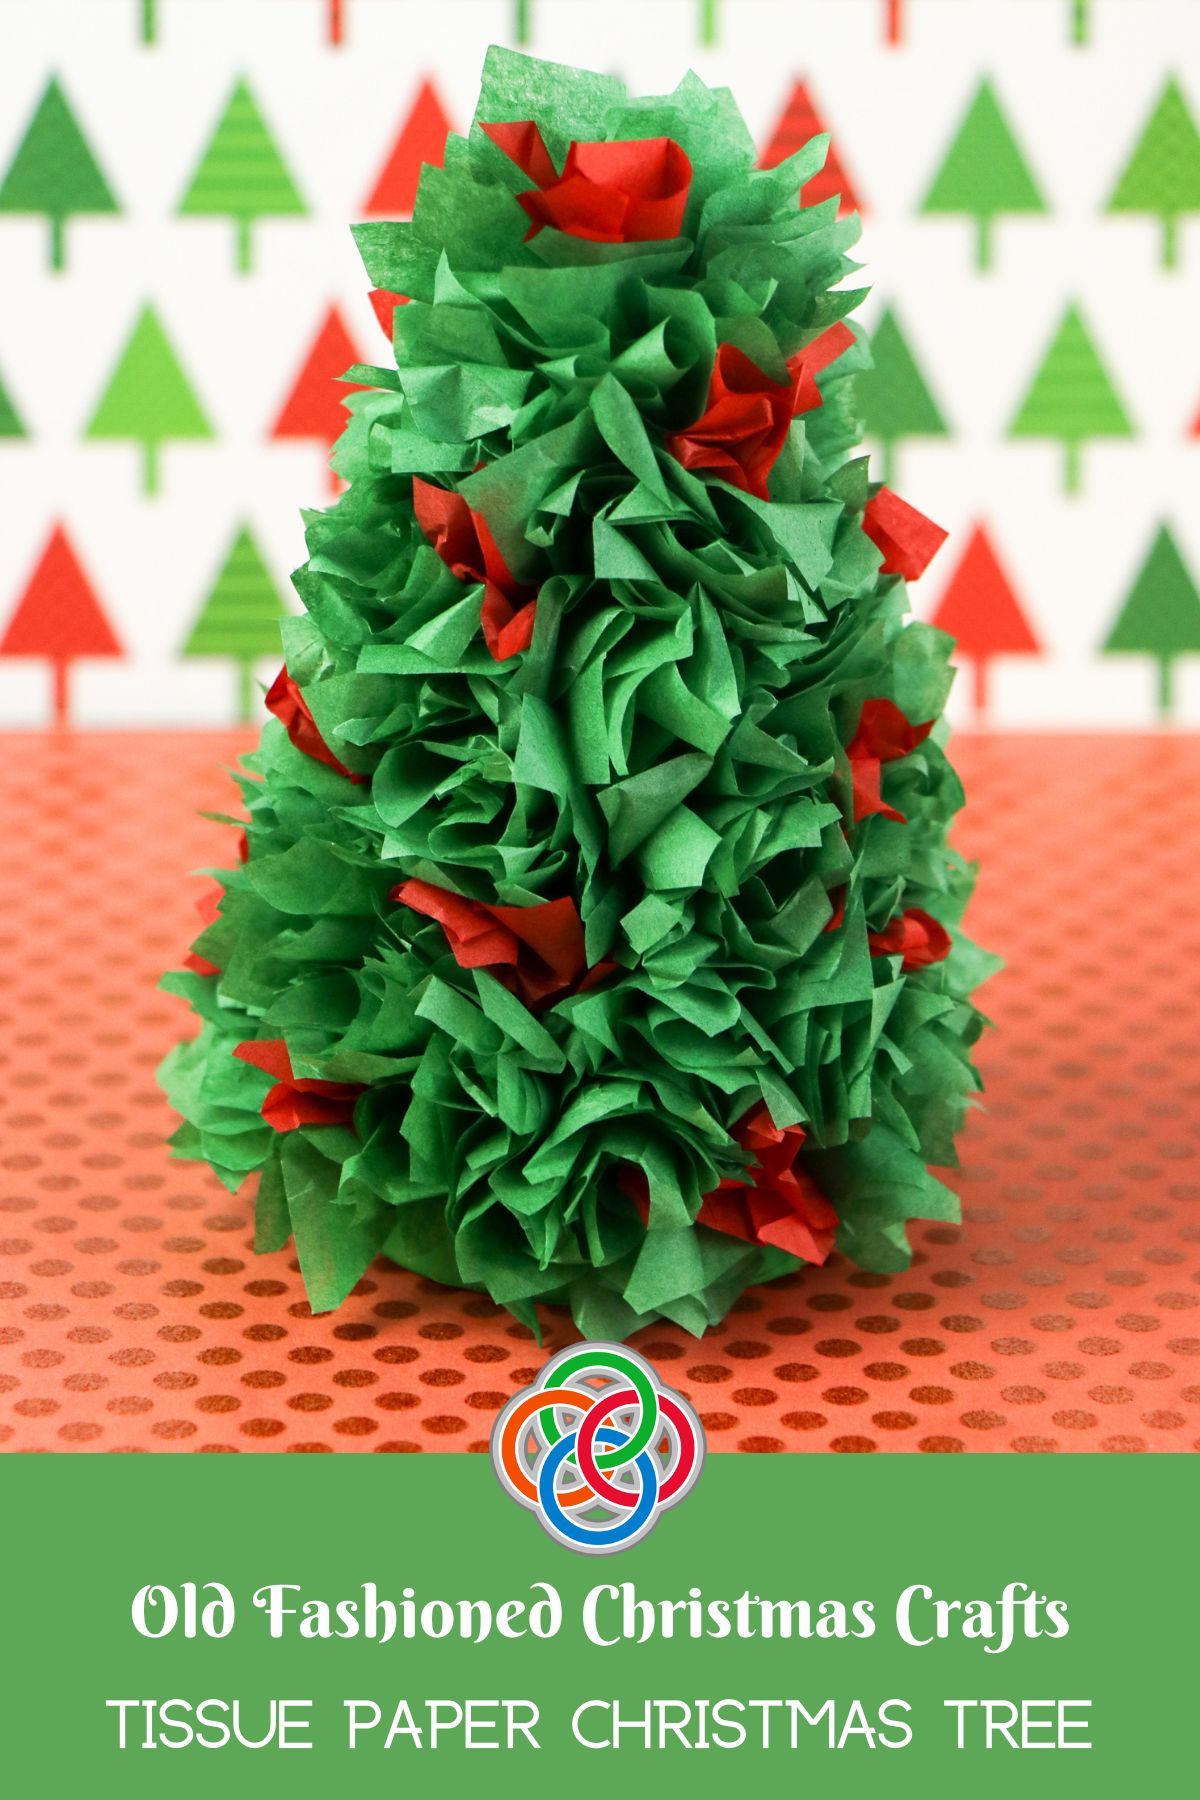
It's so simple even little ones can make it (if very young, I recommend using regular school glue rather than a glue gun.)
So, let's get started and put together this adorable Christmas tree craft.
Here's what you'll need.
Table of Contents for Tissue Paper Christmas Tree
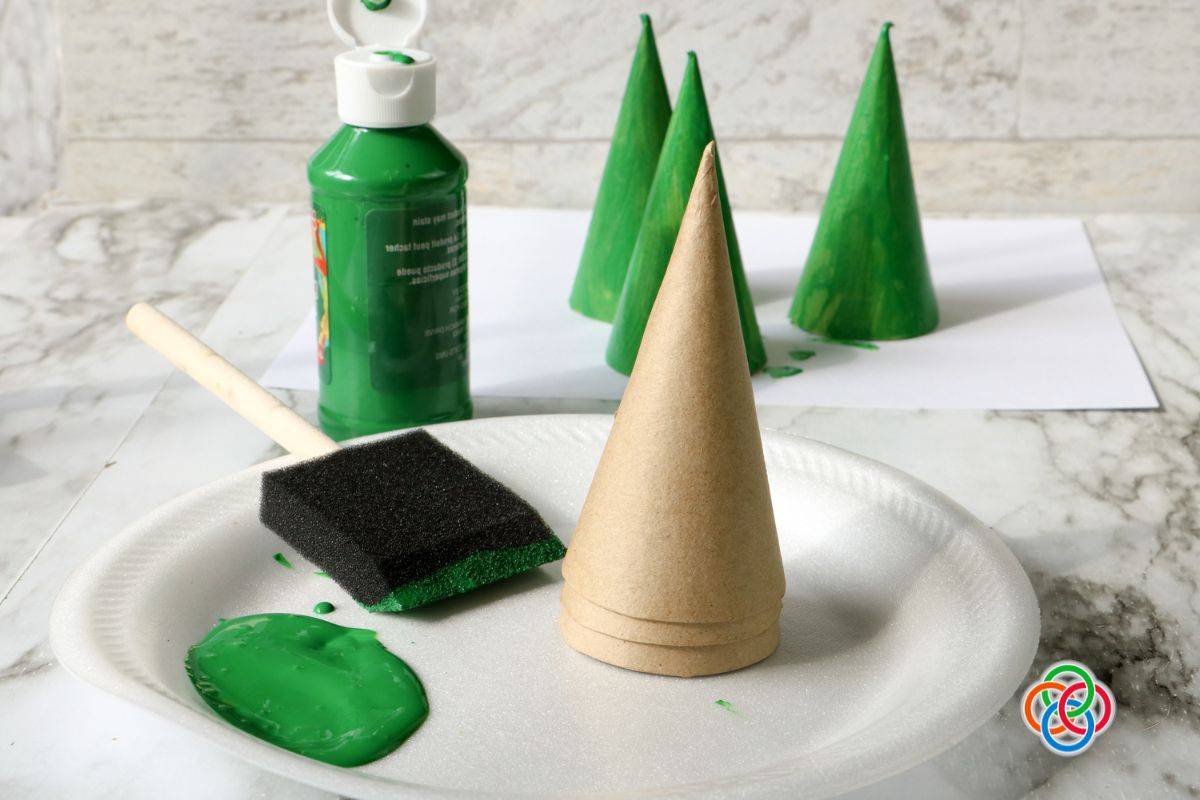
Materials for Tissue Paper Christmas Tree Craft
Here's a quick list of equipment and supplies needed. You'll find more details in the printable craft at the end of this post.
- Cardboard craft cones (made from paper maché)
- Green Paint
- Tissue paper squares in green and red
- Scissors
- Foam paint brush
- Glue
- Pencil
Cardboard craft cones can be purchased at most craft stores. They usually come in packs of 6 and are very inexpensive.
You'll also find styro-foam cones at most craft stores. If you're worried about the environment, then choose the cardboard kind.
It's difficult to paint a foam cone, but you can keep the base white if you wish. A white cone would work well for a white and blue tissue paper tree.
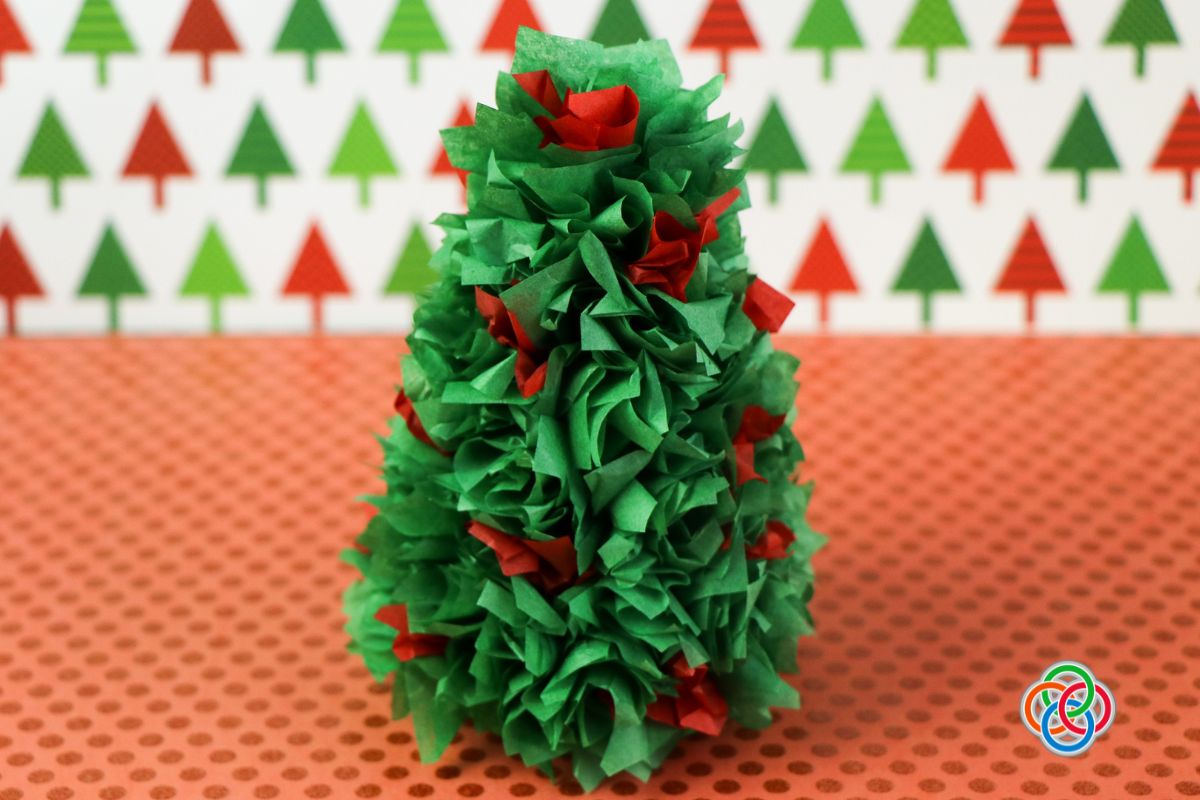
You can choose any color tissue paper you like. However, I like the festive appeal of a green and red combination, as displayed in this craft tutorial.
You can use regular school glue for this project. If you choose to use a glue gun be very careful not to burn your fingers as you attach tissue paper clusters to the hot glue.
Directions for Assembly
Here you'll find step-by step photographic instructions for making this Christmas ornament. You'll find a printable how-to sheet at the bottom of this post.
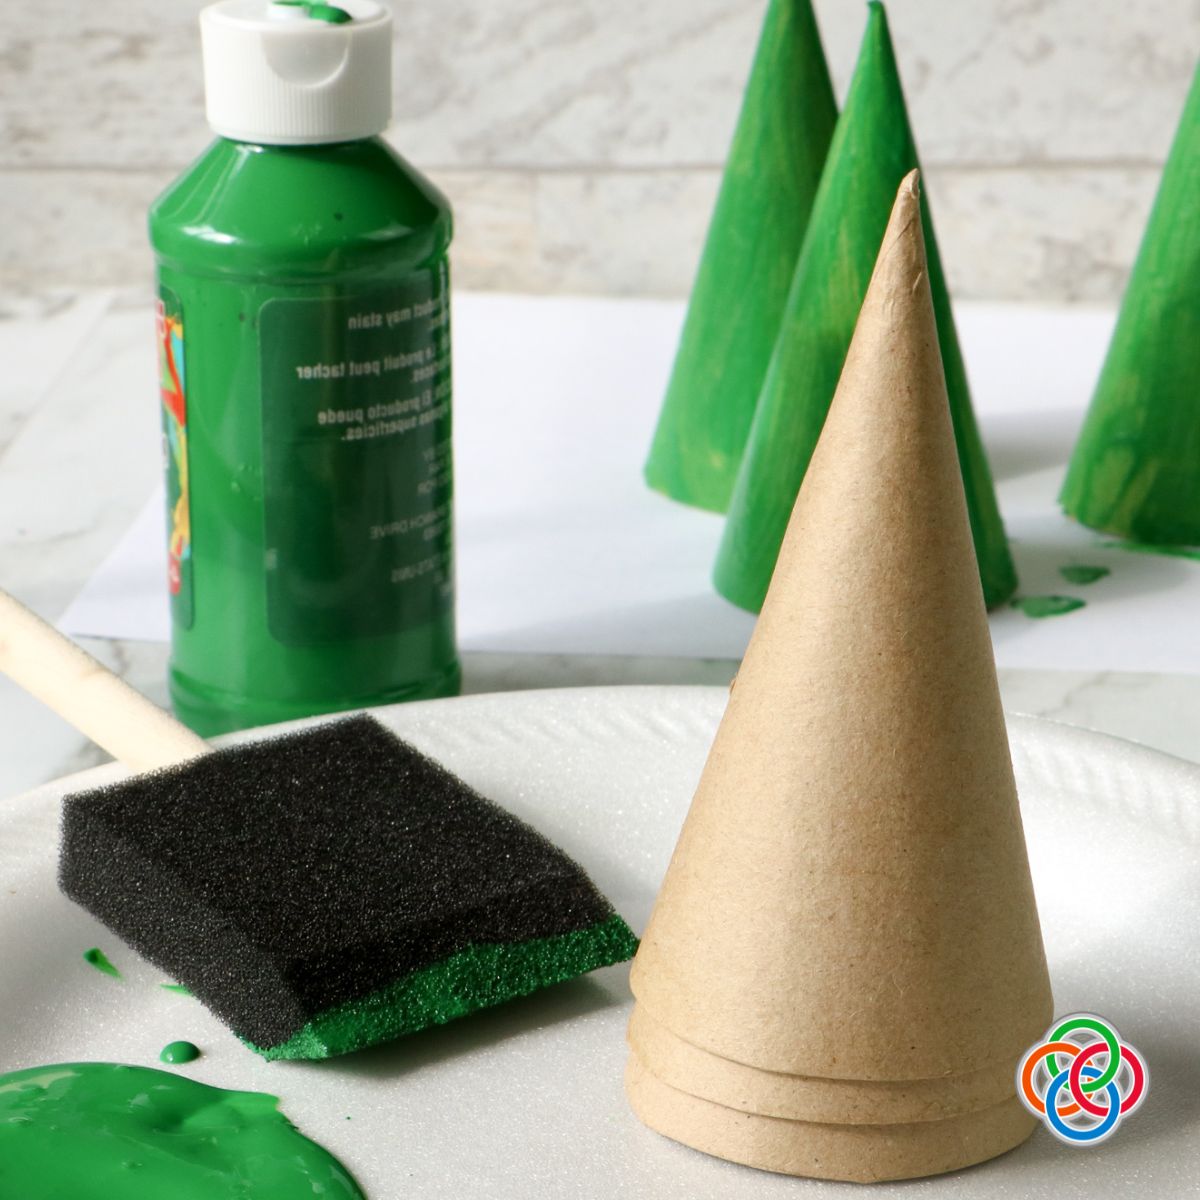
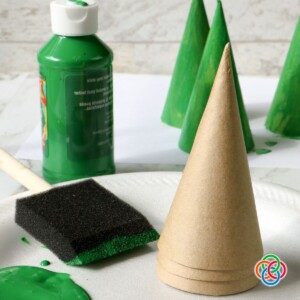
The first step is to paint the supporting cardboard cones using green craft paint.
I like using a foam paint brush for this task, but you can use any craft paint brush you happen to have.
Allow the cones to dry completely before proceeding to apply tissue paper clusters.
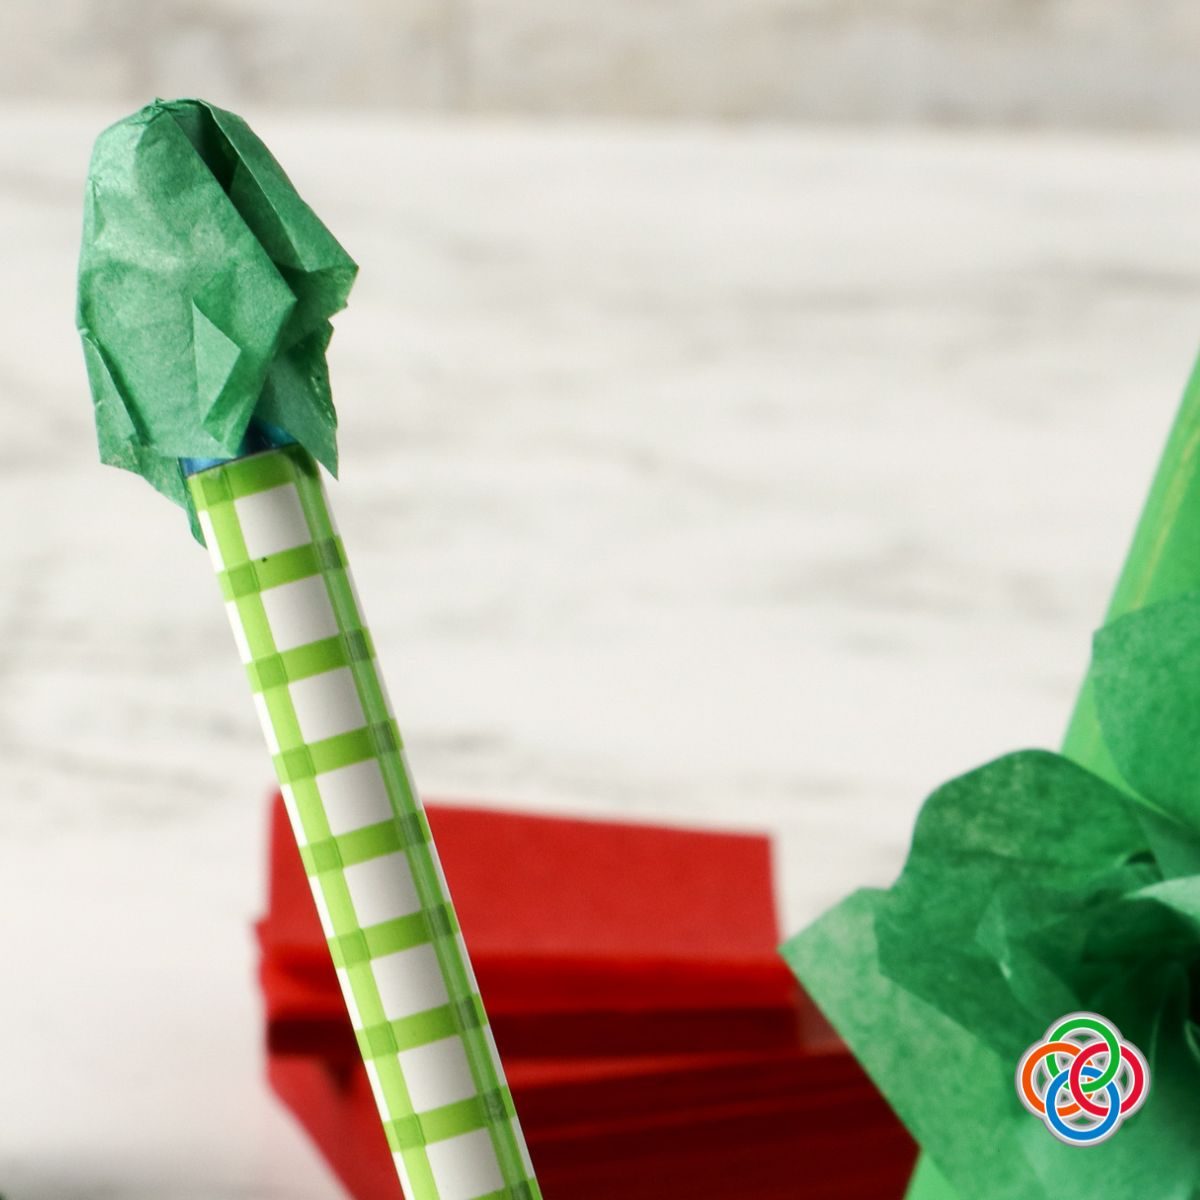
Next we're going to make little tissue paper clusters that will each be individually glued onto a painted cardboard cone.
Cut the tissue paper into squares - 2 inches x 2 inches is a good size.
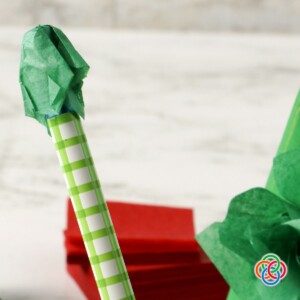
Place a square of tissue paper over the flat end or eraser on a pencil. Twist and fold the tissue paper around the end of the pencil.
Remove the tissue paper cluster from the pencil. The folded narrow end will be glued to the tree cone.
Assembly of the Tree
Now, it's time to assemble the tree.
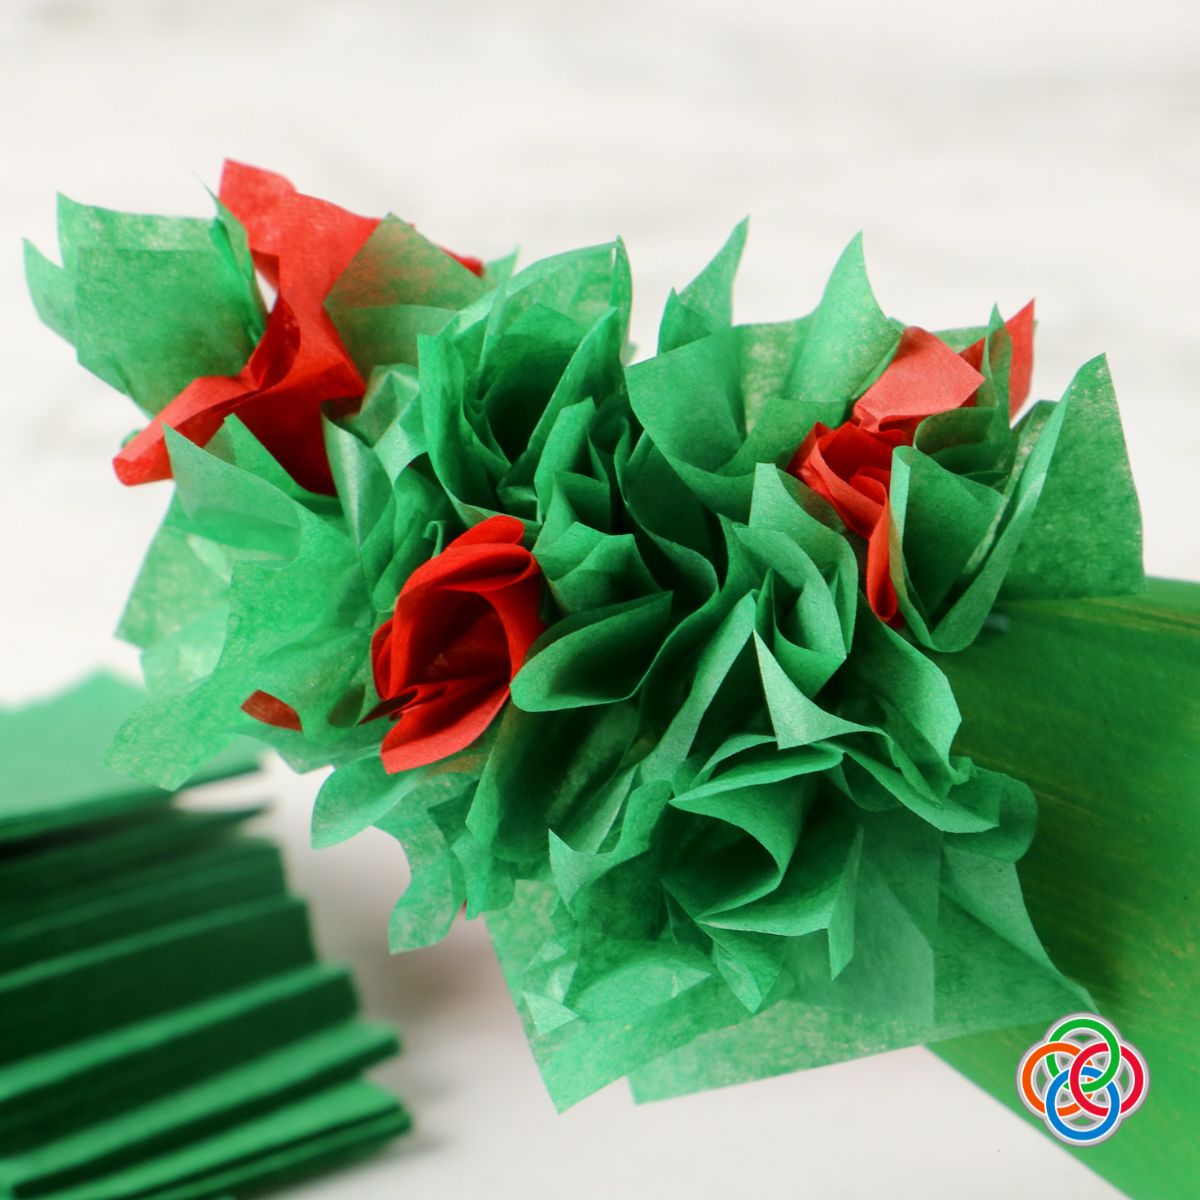
Apply some glue to a small area of a painted green cardboard cone. I started at the top and worked my way down, but you can choose to start at the bottom and work your way up the tree.
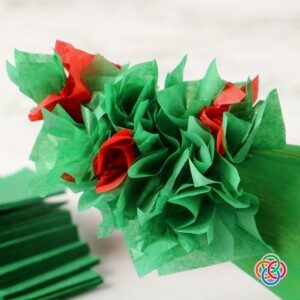
Glue individual tissue paper clusters to the cone, slowly working to cover the cone completely.
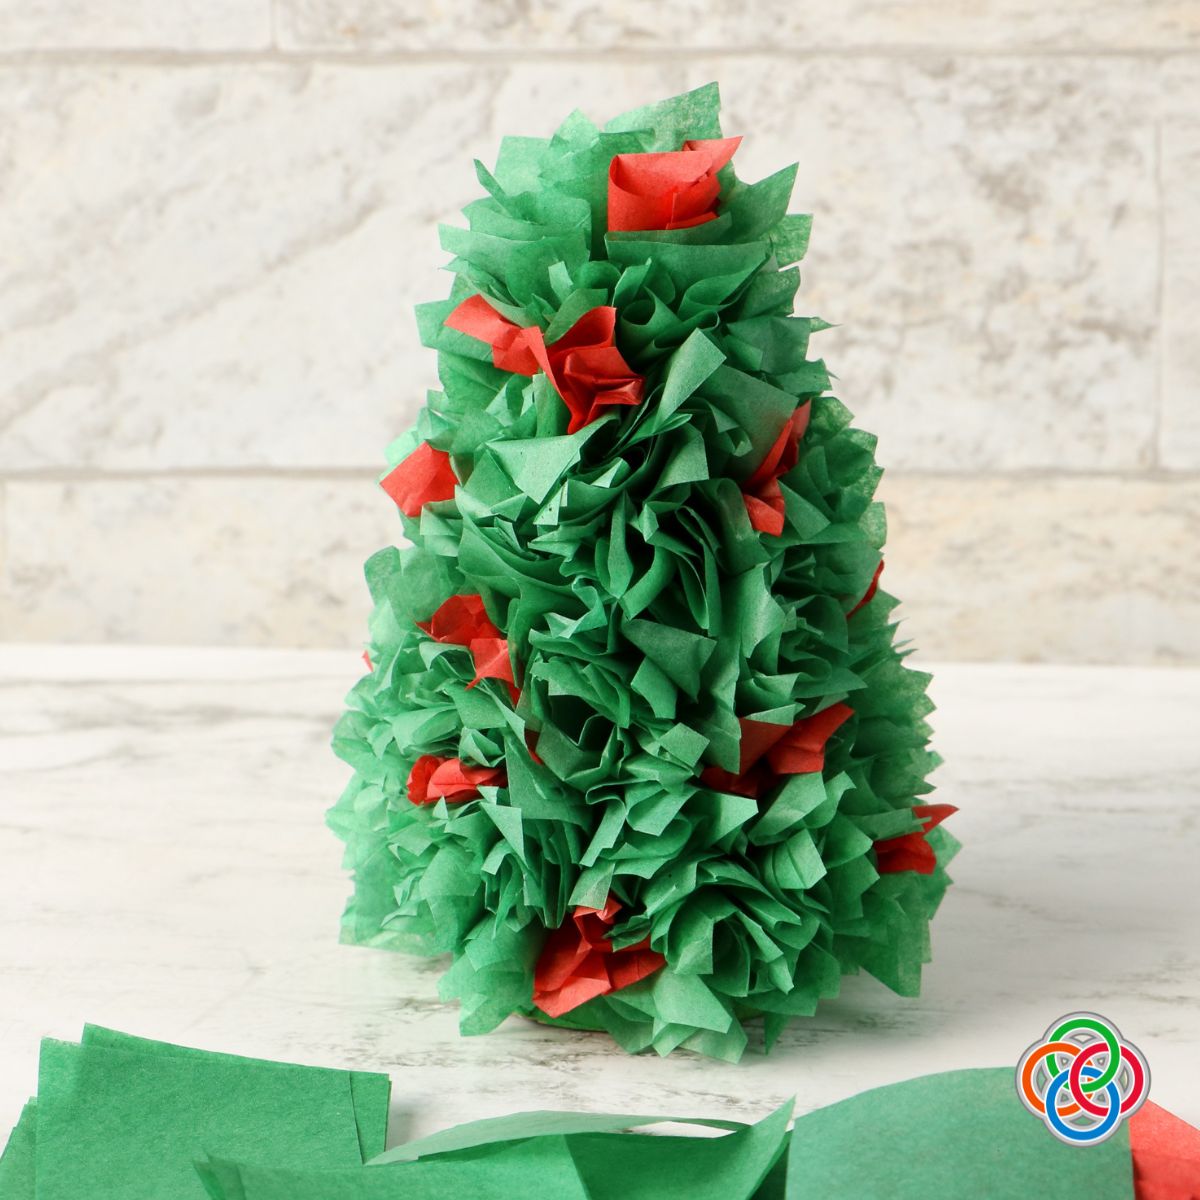
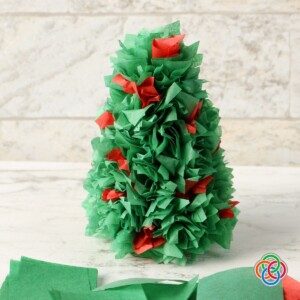
Randomly place some red tissue paper clusters amongst the green tissue clusters.
This creates a lovely festive color contrast on your tree. It also resembles a holly tree.
If you use a glue gun, be extremely careful. There's a high risk of burning your finger tips as you attach tissue paper clusters to the hot glue.
Craft or school glue works better for this craft.

And that's all there is to it. This festive Christmas tree is ever so easy to make.
Be sure to allow plenty of time for the glue to dry before gifting or displaying this Christmas tree craft.
It makes a lovely centerpiece for a Christmas table. Plus you can make a much larger version if you choose a large cardboard cone as the base for your tree.
Video Plus Printable Craft Instruction Sheet
Here's a short video outlining the steps for making this craft.
Here's the printable how-to instruction sheet for your files.
Tissue Paper Christmas Tree Cone Craft
Equipment
- 1 Pencil.
- 1 Scissors
- 1 Foam paint brush
Materials
- 1 cardboard craft cone made from paper maché
- green paint
- glue
- tissue paper green and red
Instructions
- Paint the cardboard craft cones using the green paint. Allow to dry completely.
- Cut the tissue paper into squares sized about 2 inches by 2 inches. Take the pencil and twist an individual tissue paper square over the end of the pencil to create a cluster.
- Working in small areas, apply some glue to the dried cone. Attach each individual tissue paper cluster, adding red clusters at random intervals.
- Continue to slowly work around the cone adding tissue paper clusters, until it is completely covered.
- Allow to dry overnight before displaying or gifting this decorative ornament.
More Christmas Crafts
If you would like to explore some more Christmas crafts with me, why not take a look at these craft tutorials.
Pine Cone Christmas Tree Craft For Kids
Tissue Paper Christmas Tree Card Craft
Cardboard Tube Paper Plate Christmas Wreath
Thanks for following my recipes and ramblings.

Slán agus beannacht,
(Goodbye and blessings)
Mairéad -Irish American Mom
Pronunciation - slawn ah-gus ban-ock-th
Mairéad - rhymes with parade
Christmas
- Donegal Tweed Scarf Day Five Christmas Gift
- Quiet Man Cottage - Day Three Prize For Christmas
- Day Two Of Our Twelve Days of Christmas Giveaways
- How To Steam A Christmas or Plum Pudding In A Crockpot.
Christmas Recipes
- Easy And Delicious Cranberry Brie Bites Recipe
- Spiced Red Cabbage
- White Chocolate Peppermint Truffles
- Cranberry White Chocolate Chip Christmas Cookies








Leave a Reply