Cooking
-
How To Make The Best Irish Vegetable Soup
-
Spicy Red Lentil and Carrot Soup
-
Brave Hearts By Jean Mahoney - Book Giveaway
-
Egg Salad Sandwiches Irish Style
-
Victoria Sponge Sandwich
-
Smoked Salmon Scrambled Eggs On Toast
-
Irish Cod Fish Cakes
-
Zucchini And Leek Soup
-
Parsnip and Apple Soup
-
Blueberry Scones
-
Queen Of Puddings
-
Chicken Curry With Apple And Raisins
-
Baileys Irish Cream Pumpkin Cheesecake
-
Whole Wheat Pumpkin Pancakes
-
Blackcurrants - A Taste Of Ireland I Miss In America
-
Potato Bread - Yeast Recipe
-
Berry Almond Tart
-
World Irish Stew Championship
-
Reader Recipe - Chunky Applesauce Muffins
-
Fruit Rainbow For Saint Patrick's Day
-
How To Roast Potatoes Irish Or English Style
-
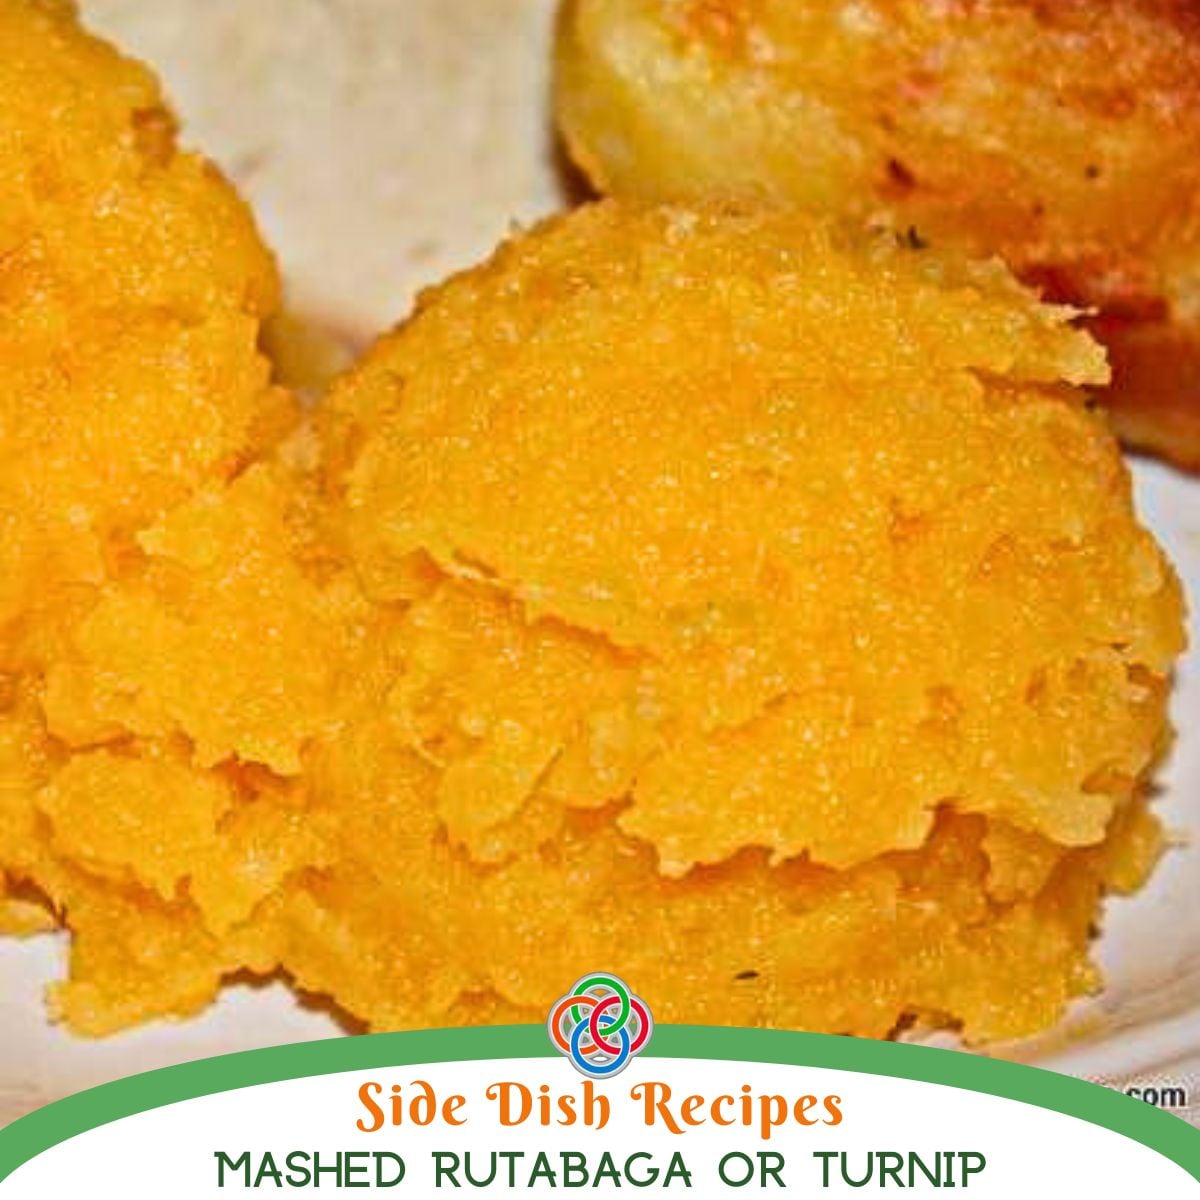
How To Cook Rutabaga Or Turnip Irish Style
-
I'll Make No Apologies For Irish Food
-
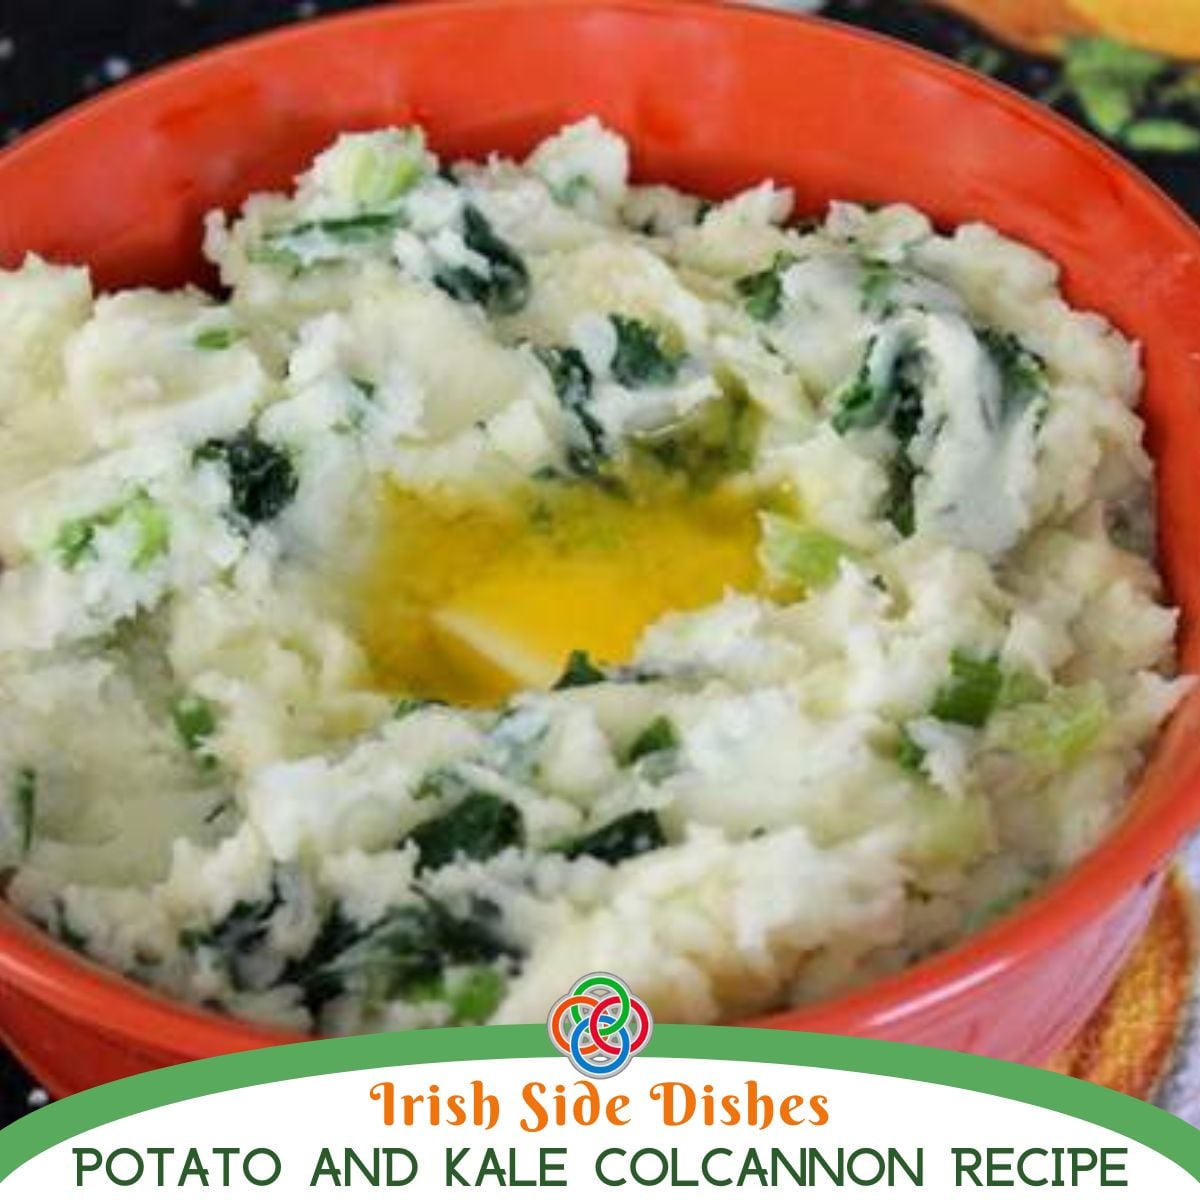
Colcannon - A Traditional Irish Halloween Dish
-
Cream Crackers - An Authentically Irish Snack
-
Irish Potato Cakes
-
Carrot And Coriander Soup
-
Scotch Eggs
-
Irish Fruit & Cream Flan
-
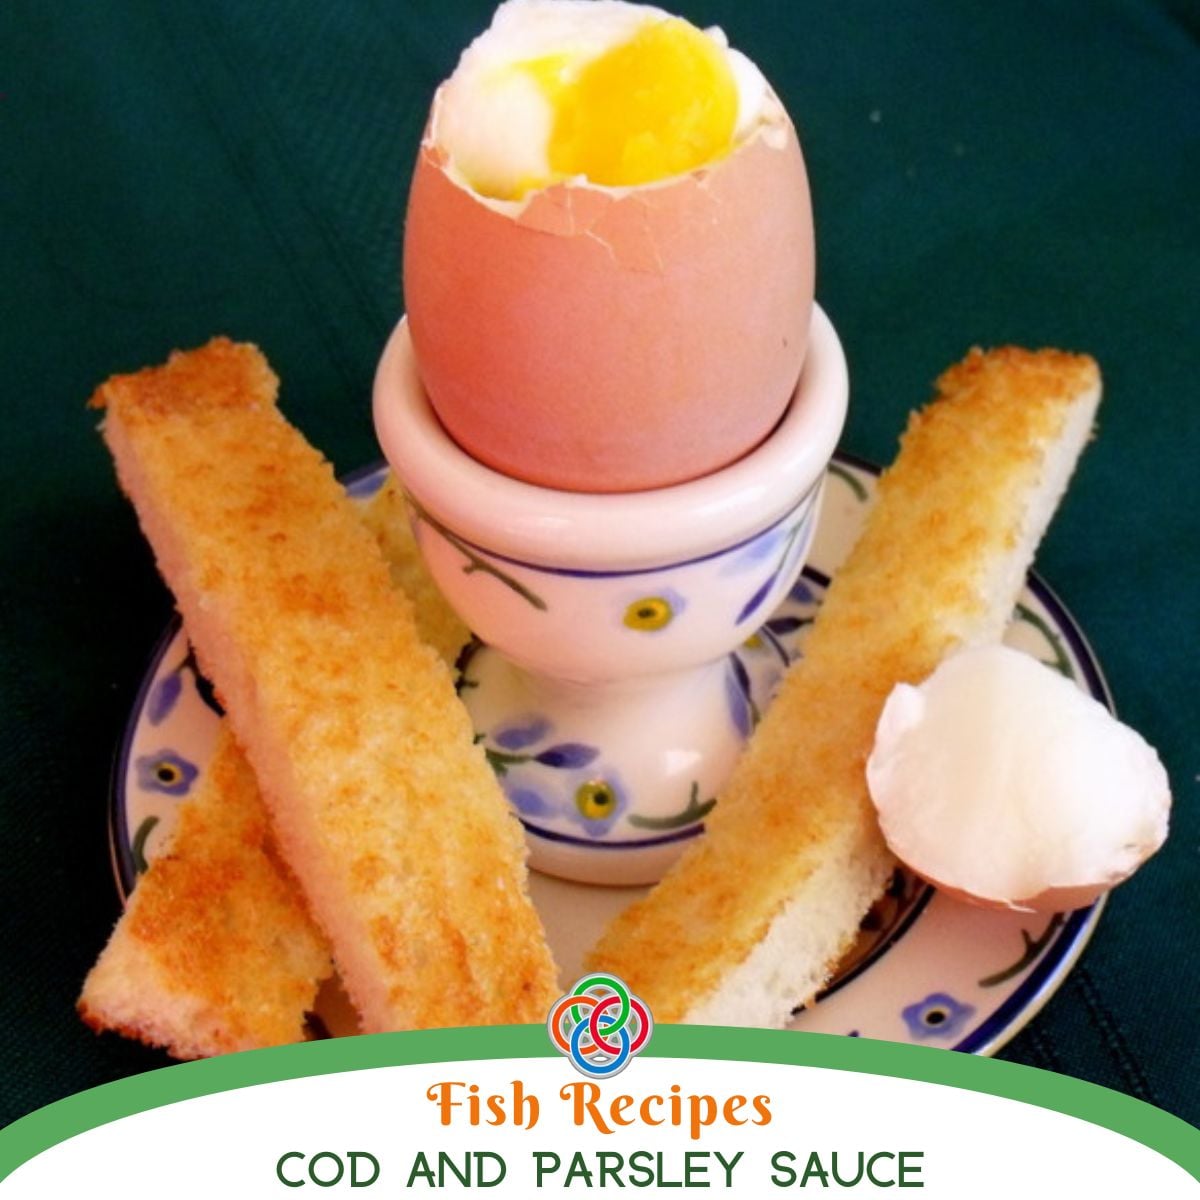
Boiled Egg And Soldiers
-
Easy Mini Pavlovas
-
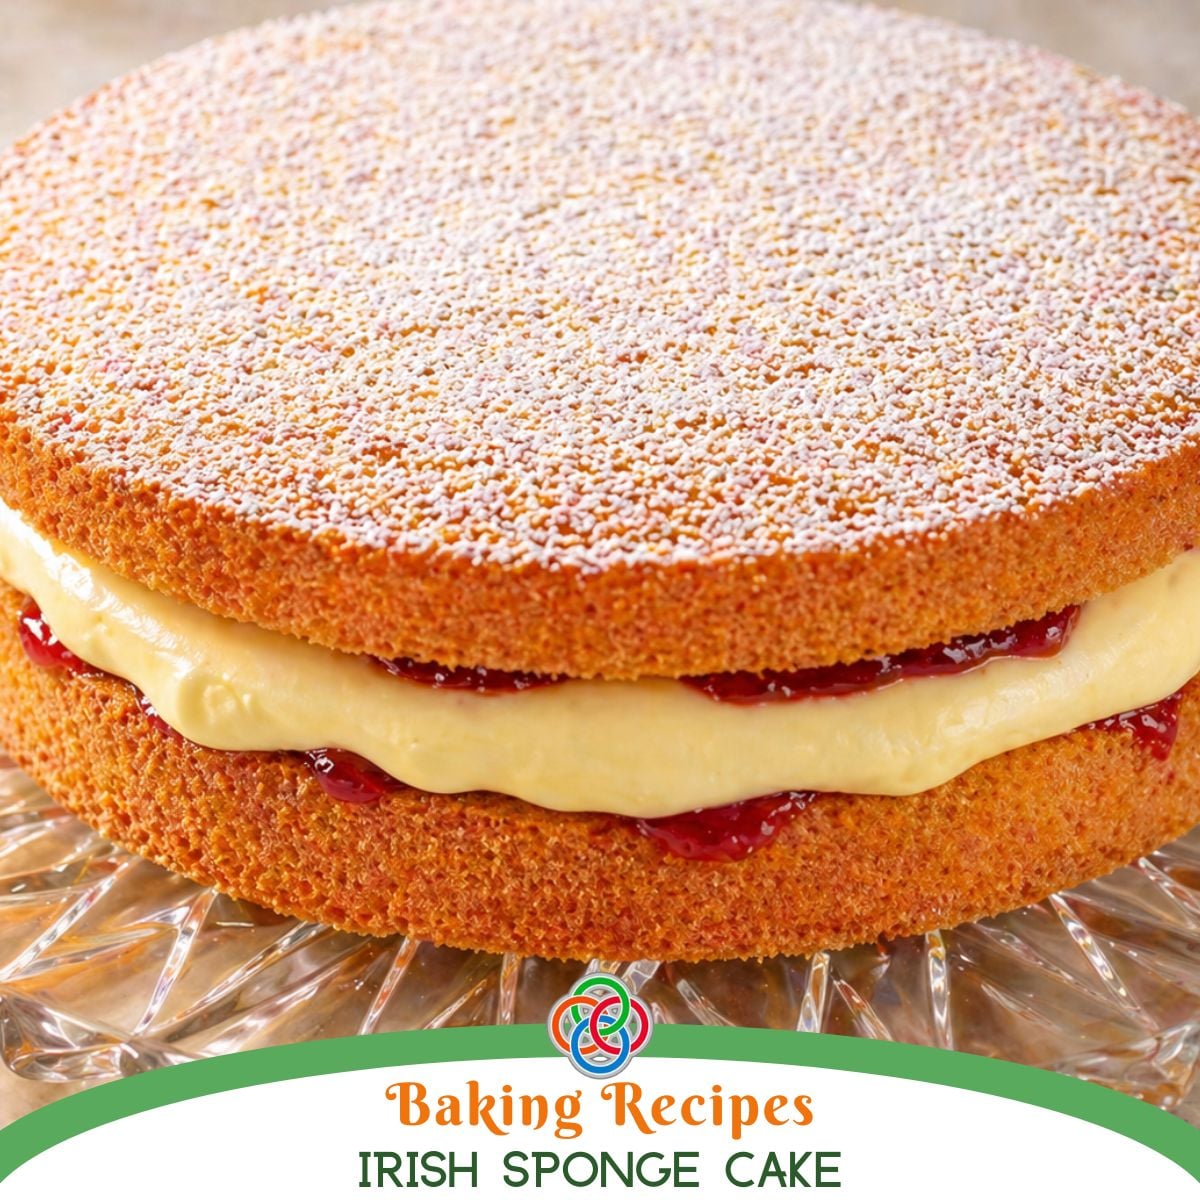
Irish Sponge Cake
-
Kentucky Hot Brown Sandwich
-
Banana Nut Wholewheat Muffins With Weetabix
-
Weetabix - A Favorite Breakfast Cereal In Ireland
-
Mushy Peas - A Side for Fish and Chips
-
How To Cook Perfect Irish Chips
-
Beer Battered Fish
-
The Chipper - An Irish Fish and Chip Shop
-
Irish Raisin Soda Bread
-
Easy Veggie Tray For St. Patrick's Day
-
How To Cook Cabbage Irish Style